


How to Install Nginx on Debian 10.
Before you start this guide, you ought to have a normal, non-root client with sudo benefits designed on your server. At the point when you have an account accessible, sign-in as your non-root client to start.
Step 1 – Installing Nginx Since Nginx is accessible in Debian's default repo, it is conceivable to introduce it from these repo utilizing the apt packaging system. Since this is our first interaction with the apt packaging system in this session, we will update our local package index so that we have access to the most recent package listings. Afterwards, we can install nginx:
sudo apt update sudo apt install nginx
Step 2 – Adjusting the Firewall Prior to testing Nginx, the firewall programming should be acclimated to permit admittance to the administration. Nginx registers itself as an assistance with ufw upon establishment, making it clear to permit Nginx access. List the application configurations that ufw knows how to work with by typing:
sudo ufw app list
You will see this
Output Available applications: Nginx Full Nginx HTTP Nginx HTTPS OpenSSH
It is suggested that you empower the most prohibitive profile that will in any case permit the traffic you've designed. Since we haven't designed SSL for our server yet in this guide, we will just need to permit traffic on port 80.
You can enable this by typing:
sudo ufw allow 'Nginx HTTP'
You can verify the change by typing:
sudo ufw status
You should see HTTP traffic allowed in the displayed output:
Output Status: active
To Action From -- ------ ---- OpenSSH ALLOW Anywhere Nginx HTTP
ALLOW Anywhere OpenSSH (v6)
ALLOW Anywhere (v6) Nginx HTTP (v6)
ALLOW Anywhere (v6)
Step 3 – Checking your Web Server to permit traffic on port 80.
Toward the finish of the establishment, the web server should as of now be fully operational.
Output ◠nginx.service - A high performance web server and a reverse proxy server Loaded: loaded (/lib/systemd/system/nginx.service; enabled; vendor preset: enabled) Active: active (running) since Fri 2018-04-20 16:08:19 UTC; 3 days ago Docs: man:nginx(8) Main PID: 2369 (nginx) Tasks: 2 (limit: 1153) CGroup: /system.slice/nginx.service ├─2369 nginx: master process /usr/sbin/nginx -g daemon on; master_process on; └─2380 nginx: worker process
As should be obvious over, the service seems to have begun effectively. In any case, the most ideal approach to test this is to really demand a page from Nginx.
You can get to the default Nginx presentation page to confirm that the product is running appropriately by exploring to your server's IP address. In the event that you don't have the foggiest idea about your server's IP address, you can get it a couple of various ways.
Take a stab at composing this at your Server's command prompt:
ip addr show eth0 | grep inet | awk '{ print $2; }' | sed 's/\/.*$//'
You will get back a few lines. You can try each in your web browser to see if they work.
When you have your server’s IP address, enter it into your browser’s address bar:
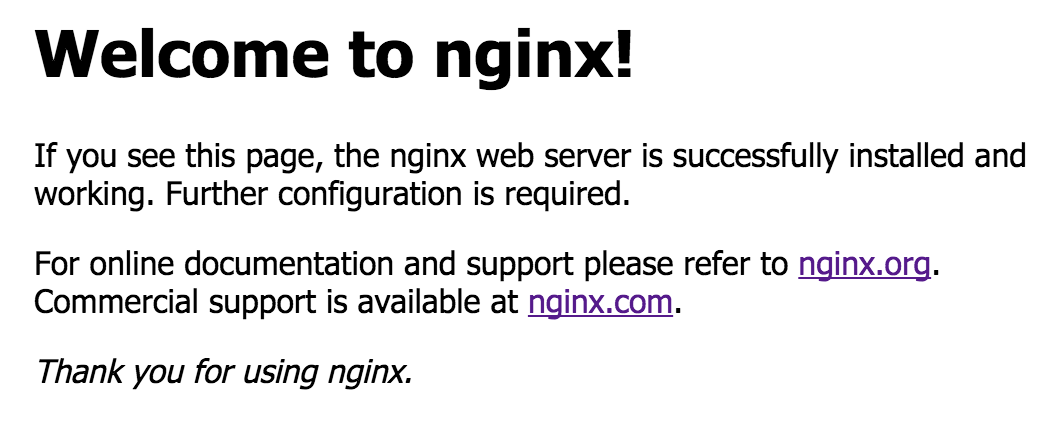
http://your_server_ip You should see the default Nginx landing page:
Step 4 – Managing the Nginx Process Now that you have your web server up and running, let’s review some basic management commands.
To stop your web server, type:
sudo systemctl stop nginx
To start the web server when it is stopped, type:
sudo systemctl start nginx
To stop and then start the service again, type:
sudo systemctl restart nginx
If you are simply making configuration changes, Nginx can often reload without dropping connections. To do this, type:
sudo systemctl reload nginx
Thank you.