


Install Percona Server 5.7 MySQL on Ubuntu, CentOS or Debian
Overview
In this series I am going to cover Percona Server, XtraDB Cluster and XtraBackup Toolkit.
Percona Server is a dropin replacement for MySQL server with extra features and stability. It runs more consistently while providing extra engines and improved scalability.
Key features that are available in Percona Server:
XtraDB - It provides better query performance with just switching from InnoDB. Built on top of InnoDB, provides backwards compatibility and theres no migration process.
PAM Authentication - This can be very useful for enterprise grade solutions or integrating with other systems.
Dropin compatibility - You can upgrade from MySQL without any changes to your schema or code.
Operation Metrics - Percons Server provides a number of builtin metrics that will allow you to improve your schema, giving you better understanding of how your users, tables, queries and indexes are performing.
Prequisites
- Fresh server with vpsserver.com with 1GB Ram
- Debian 7.0, 8.0, 9.0
- Ubuntu 14.04, 16.04, 17.04
- CentOS 6 or 7
- All commands needs to be executed as root user or using
sudocommand
Installing from repositories:
While Percona provide Sources and Binary distributions of all their software, its best to use repositories instead. This method will resolve all software dependencies trough the Operating System package manager (apt for Debian and Ubuntu, yum for CentOS) and provide easy way to apply updates and security patches.
Ubuntu and Debian Steps:
- First we will download repository package from Persona:
wget https://repo.percona.com/apt/percona-release_0.1-4.$(lsb_release -sc)_all.deb

- Install the downloaded package with dpkg utility:
dpkg -i percona-release_0.1-4.$(lsb_release -sc)_all.deb

- Update the local cache:
apt-get update
- And finally install the Percona server package:
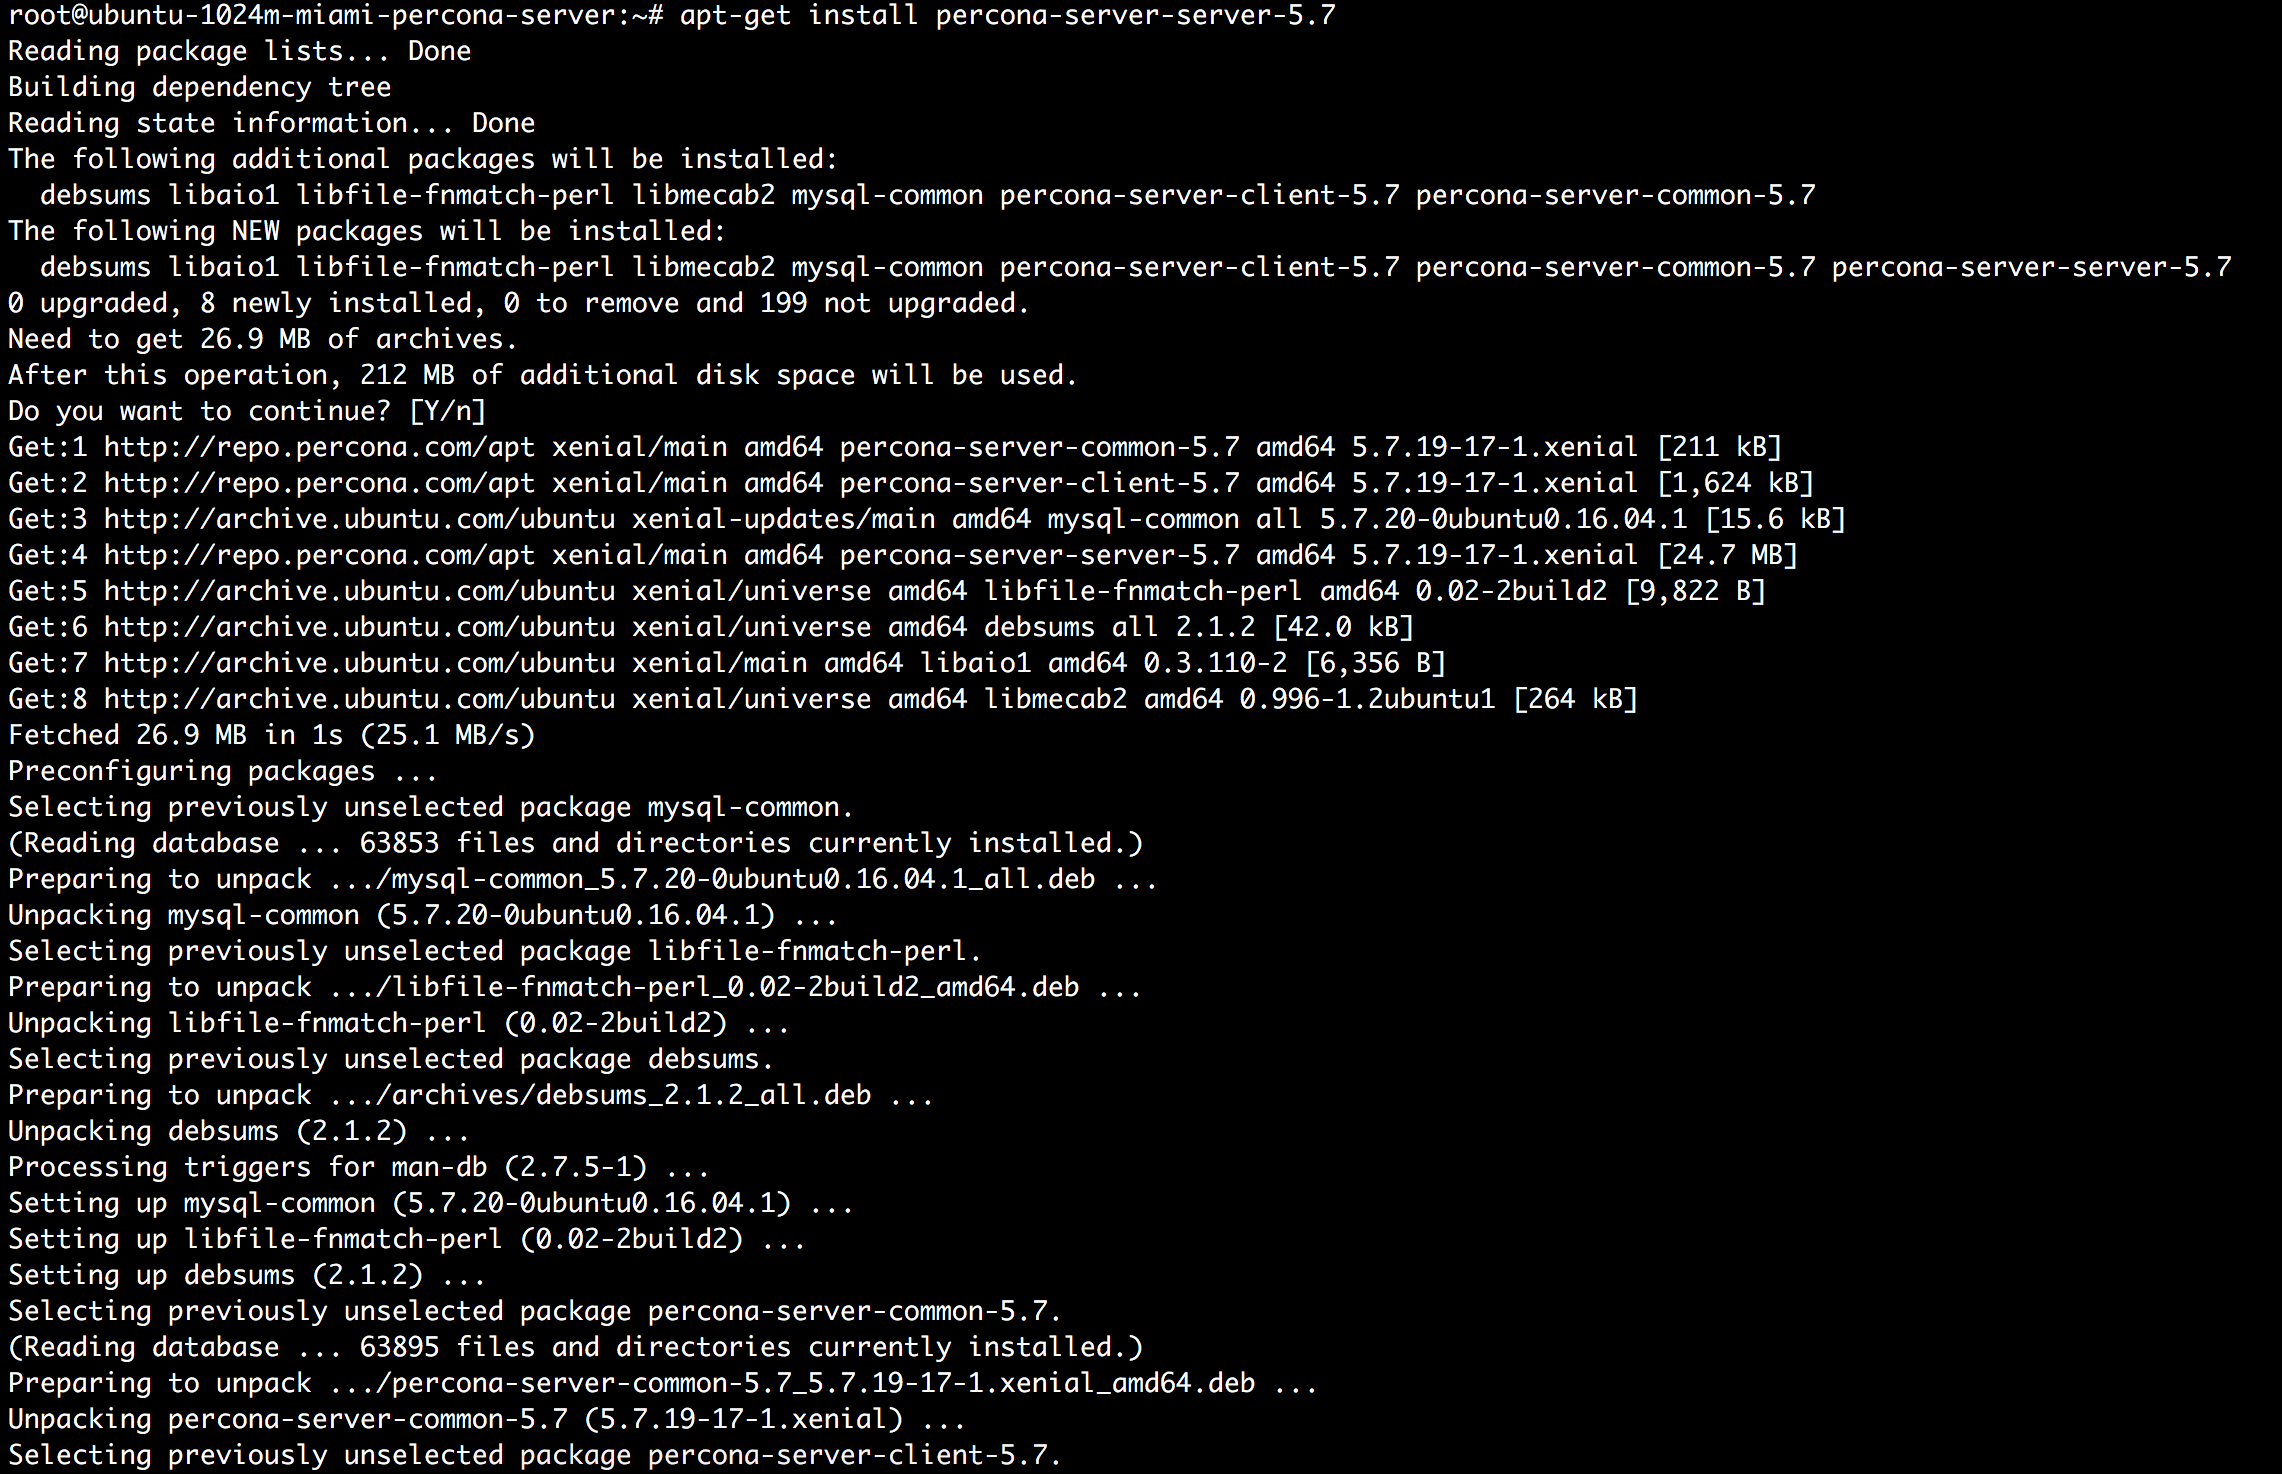
apt-get install percona-server-server-5.7

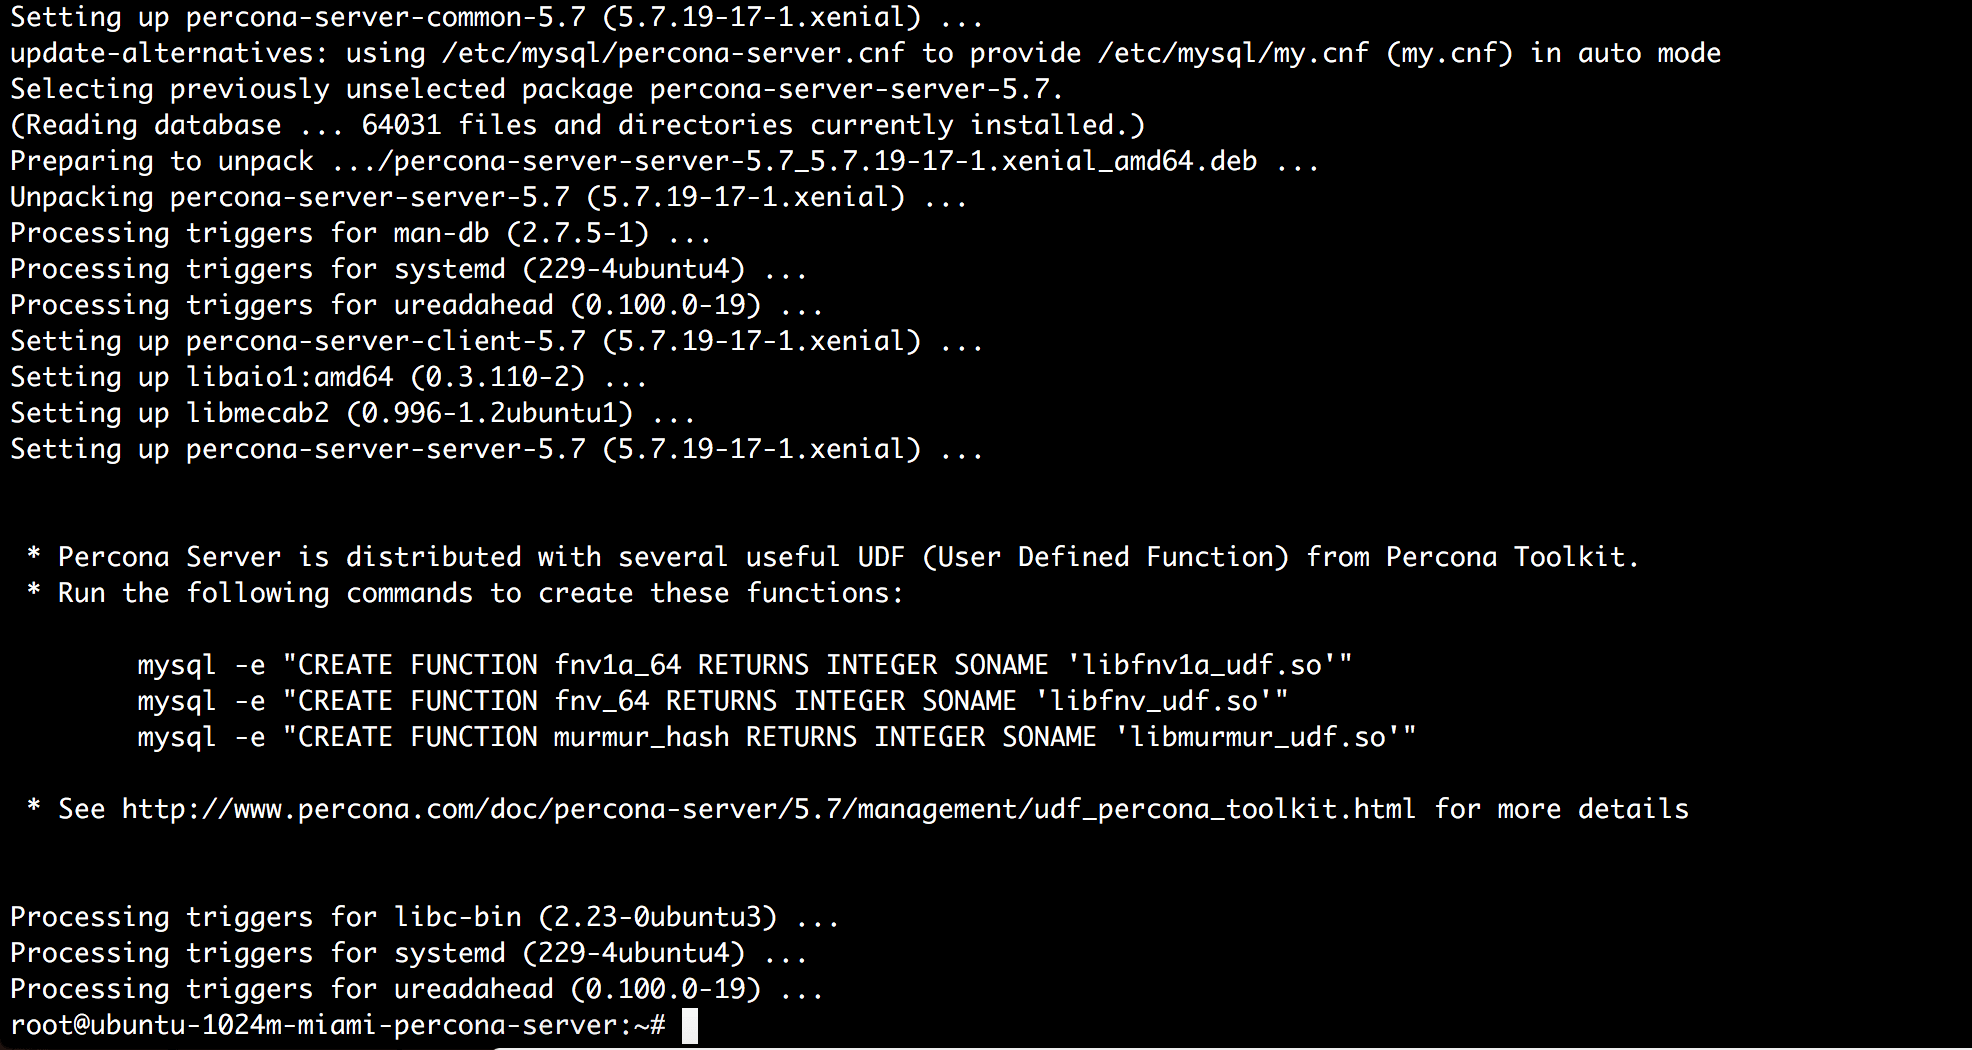
- Install the user defined functions UDF:
mysql -e "CREATE FUNCTION fnv1a_64 RETURNS INTEGER SONAME 'libfnv1a_udf.so'" -p
mysql -e "CREATE FUNCTION fnv_64 RETURNS INTEGER SONAME 'libfnv_udf.so'" -p
mysql -e "CREATE FUNCTION murmur_hash RETURNS INTEGER SONAME 'libmurmur_udf.so'" -p
Provide the root password you've typed during the install process at the previous step.
To avoid the software from being upgrade from distribution repositories we will pin the package, to do so we need to create a new file /etc/apt/preferences.d/00percona.pref and save the following content in it:
Package: *
Pin: release o=Percona Development Team
Pin-Priority: 1001
CentOS Steps
- Start by downloading and installing the repository package from Percona
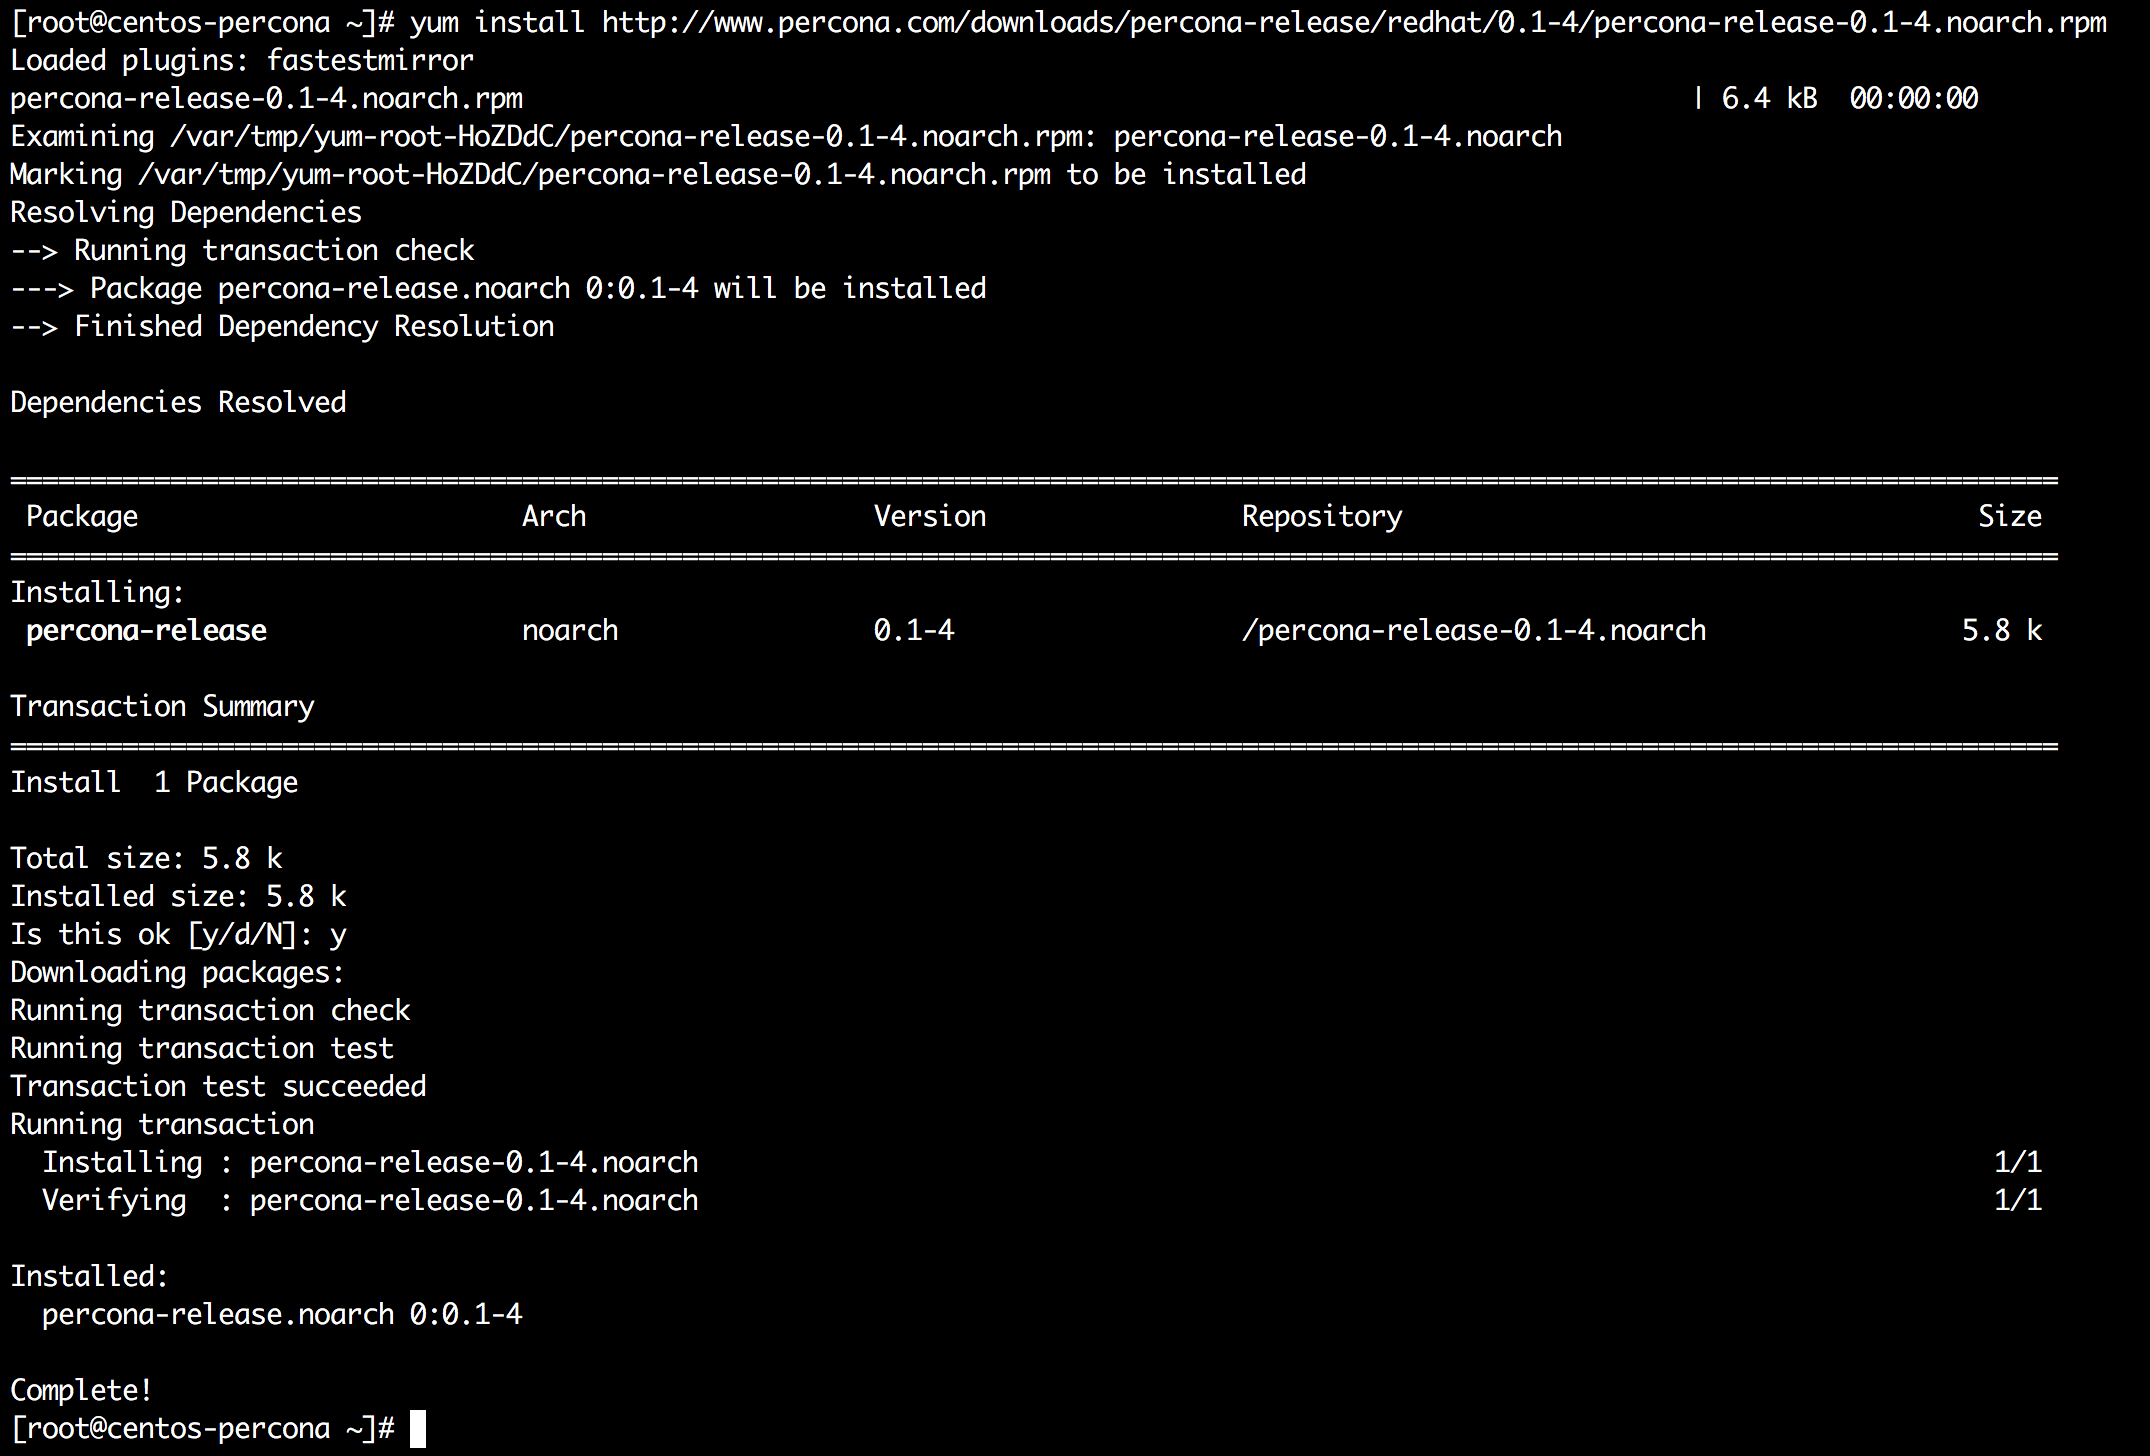
yum install http://www.percona.com/downloads/percona-release/redhat/0.1-4/percona-release-0.1-4.noarch.rpm
- To make sure its properly installed we will list the package we are about to install with the following command:
yum list | grep Percona-Server-57

You should see listing that indicates the available version from repository percona-release-x86_64 or percona-release-x86 depending on the architecture you are installing on.
- The final step is to install the package by running:
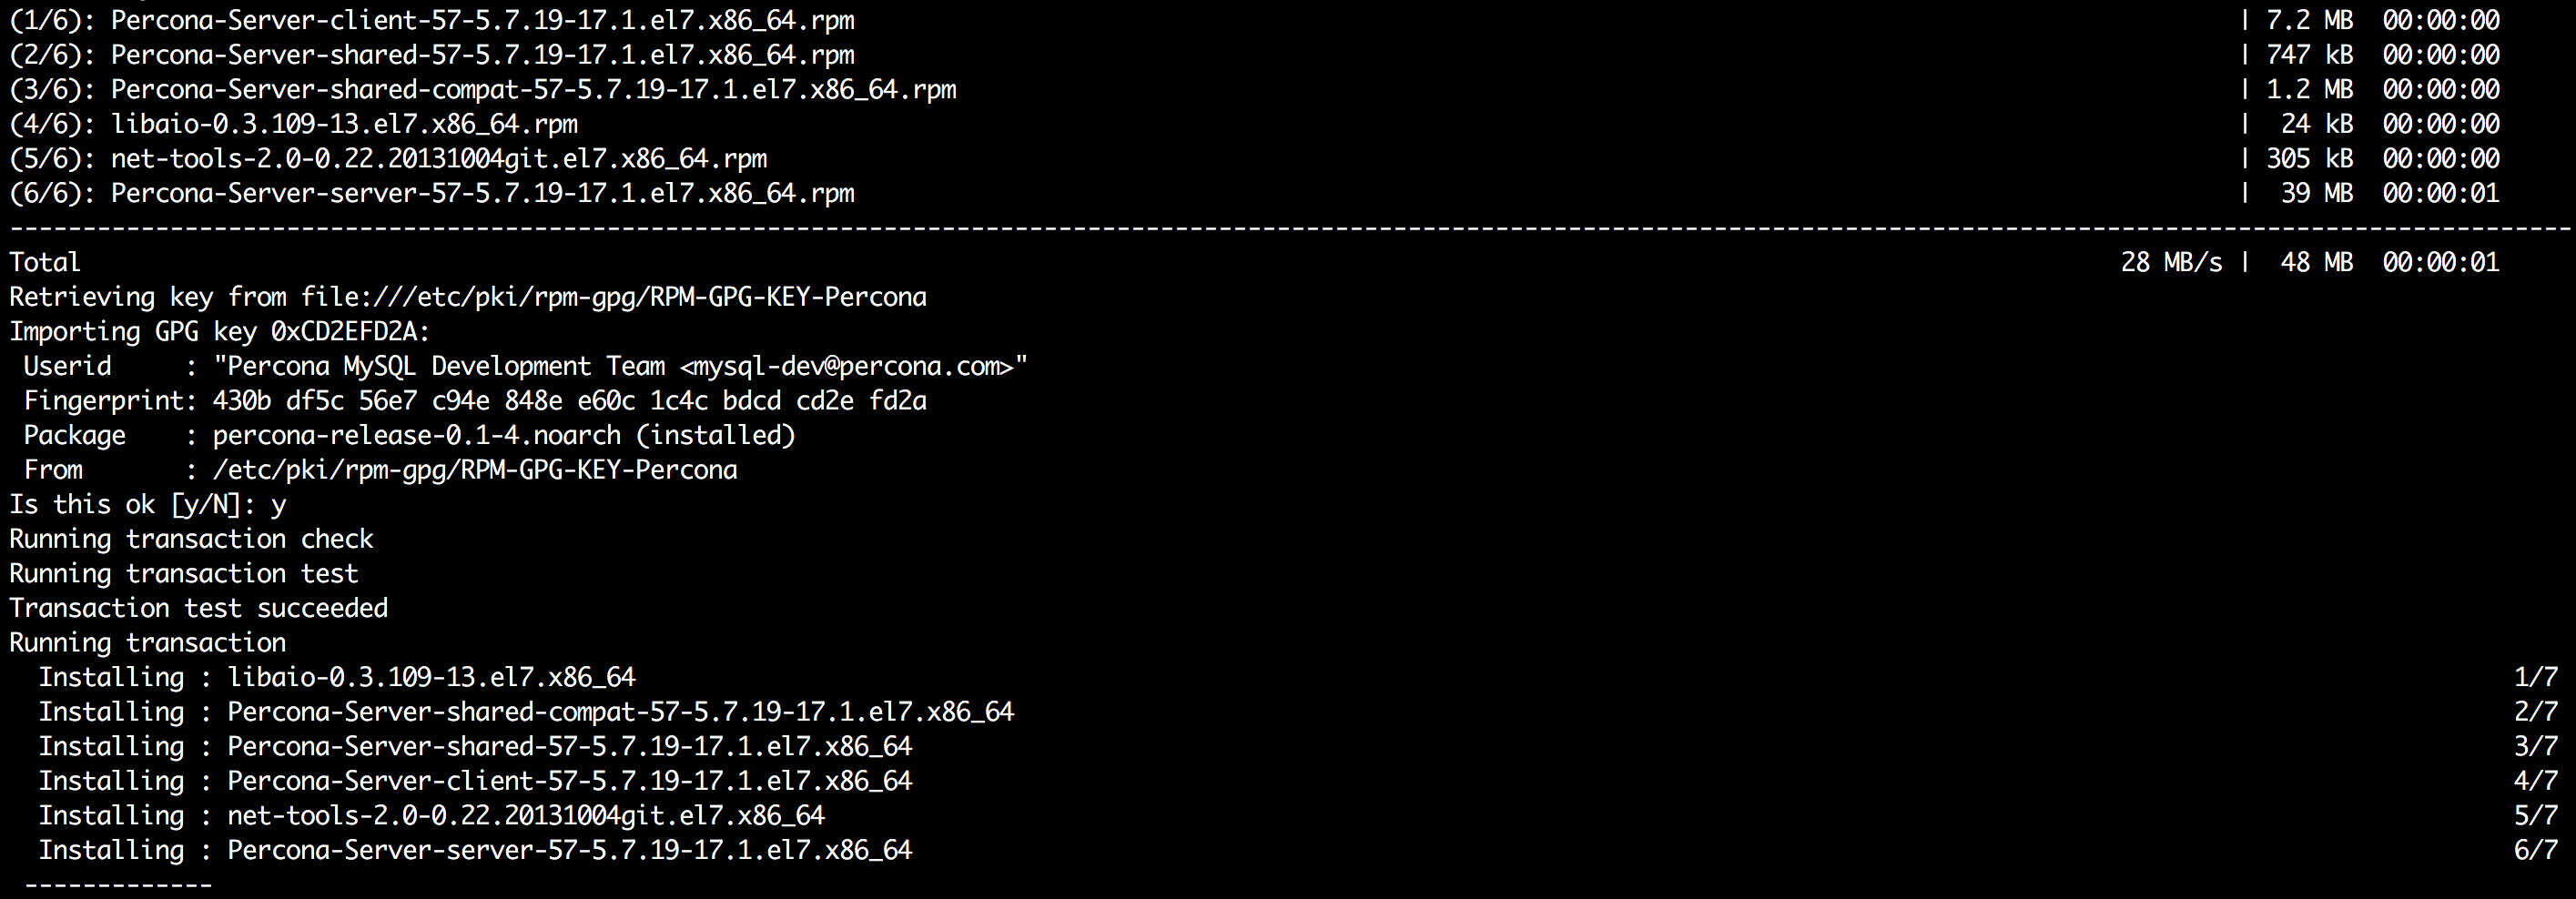
yum install Percona-Server-server-57
Note that the default password will be generated automatically, you can check yours by running:
grep "temporary password" /var/log/mysqld.log
The package manager will ask you to confirm the new repository key and to accept the packages to be installed.
Configuring and starting the server
For Ubuntu and Debian distributions the default data directory is /var/lib/mysql. The configuration is stored in /etc/mysql/my.cnf.
CentOS has the same data directory /var/lib/mysql by default and the configuration file is in /etc/my.cnf.
The server comes with the usual init.d scripts to allow you to start, restart or stop it. By default, on Debian and Ubuntu, it should start automatically once installed, unless it encountered an error. You can still start it by running:
service mysql start
To confirm its running you can use:
service mysql status
You can stop the server with:
service mysql stop
And restart it by running:
service mysql restart
Connect Percona Server 5.7 and test it
Next we will connect the server, create new database, a simple schema and run a couple of queries.
- Connect to mysql server, you need to supply the password that you chose during the install process:
mysql -p
- Create new database:
CREATE DATABASE testdb;
- Let's create a table:
use testdb;
CREATE TABLE Users (
    Id int NOT NULL,
    Name varchar(255),
    Email varchar(255),
    Note varchar(255),
    PRIMARY KEY (Id)
);
- Inserting and selecting from the table:
INSERT INTO Users (Id, Name, Email, Note)
VALUES (1, 'John Doe', 'jd@exmaple.com', 'Test User');
And to retrieve the records, we need to execute:
SELECT * FROM Users;
- Once we are done playing, lets drop that
testdb.
DROP DATABASE testdb;
You can exit mysql prompt with CTRL+D or commando quit;
Create new user, database and grant permissions
Let's create new database, a user and grant that user permissions to that database. For this example we will create user jeff and his database will be called blog.
- Connect mysql server. Provide the root password you've entered during the installation:
mysql -p
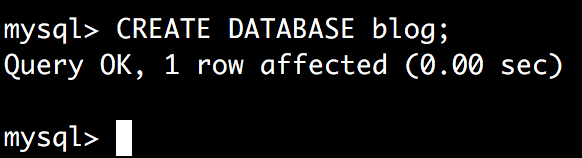
- Create database by running
CREATE DATABASE blog;
- Add new user, limited to access from
localhostwith passwordmysecretone.
CREATE USER 'jeff'@'localhost' IDENTIFIED BY 'mysecretone';

- Grant user
jeffall permissions on that database.
GRANT ALL PRIVILEGES ON blog.* TO 'jeff'@'localhost';

- Finally we need to reload the privileges to make sure or changes are applied.
FLUSH PRIVILEGES;

You can exit mysql prompt with CTRL+D or commando quit;
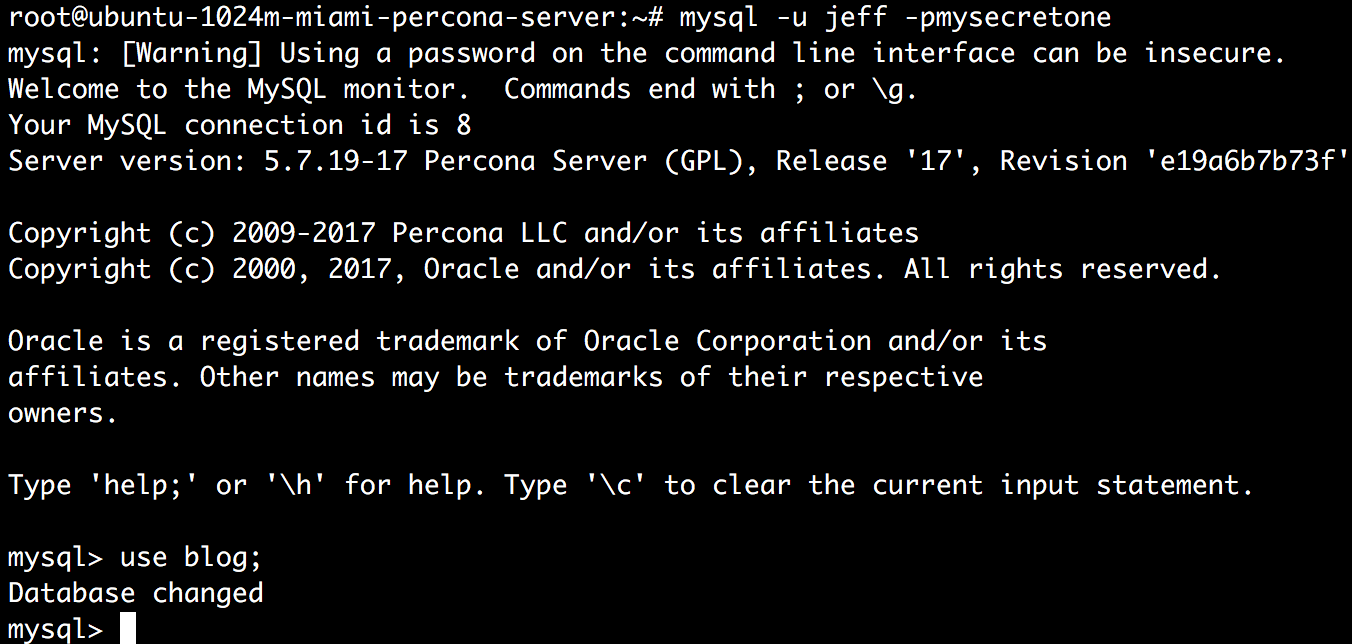
- Testing our newly created user:
mysql -u jeff -pmysecretone
Once authenticated as jeff we will switch to our new database:
use blog;
Conclusion
In under 15 minutes we went trough the installation process of Percona Server 5.7 and created new user for use in your application. This can give immediate improvement over using MySQL Server with very little effort.
Related Tutorials
Installing ServerPilot and Creating an App on Ubuntu 14.04 LTS 64bitHow to install ISPConfig panel on a VPS - Alternative of cPanel - free cPanel
Locating files on your Linux VPS system using whereis, which, whatis, readlink, find
Installing and Securing phpMyAdmin on Ubuntu 16.04 server
Installing NodeJS on an Ubuntu 16.04 VPS Server