Virtual Network Computing (VNC) takes center stage in the world of sharing desktops visually, letting you control one computer using another. This guide explores getting the VNC Server up and running on Ubuntu devices or local machines.
We'll cover the steps for installation, account configuration, and VNC server configuration to make your remote desktop experience smoother. Users can harness the full potential of a seamless and secure remote server access environment by navigating these steps.
What is Ubuntu VNC Client?
Virtual Network Computing, or Ubuntu VNC, is a system that lets users view and control graphical desktops from a distance. It's like having magic powers to control and play around with the graphical desktop environment of another computer, all without being in the same room. It offers a method for individuals to navigate and manage a computer's desktop interface remotely.
This capability is invaluable for providing technical support, collaborating on projects, and administering computers in diverse locations. VNC serves as an open-source alternative to Microsoft's Remote Desktop Protocol (RDP), finding extensive usage, especially in Linux systems like Ubuntu.
As we embark on the journey of understanding Ubuntu VNC, consider the power of VPSServer. Elevate your remote access capabilities with our hosting solutions tailored to complement your Ubuntu VNC experience.
5 Types of Ubuntu VNC Remote Server
Dive into the diverse landscape of Ubuntu and VNC clients, each offering unique features:
1. TightVNC
TightVNC is a robust remote desktop solution recognized for its bandwidth efficiency and user-friendly experience. Operating on a client-server setup, it enables seamless remote desktop access across Windows, Linux, and macOS.
The key to TightVNC server effectiveness lies in its adept data compression, making it particularly suitable for low-bandwidth connections. With its easy installation process and intuitive graphical interface, TightVNC proves to be a valuable tool for diverse remote desktop requirements.
Deploy TightVNC effortlessly using a straightforward command:
sudo apt-get install tightvncserver
2. TigerVNC
TigerVNC stands out as a remote desktop tool celebrated for its speedy and reliable performance. It follows a client-server structure, allowing seamless access to remote desktops across Windows, Linux, and macOS.
The focus on speed and dependability makes TigerVNC a popular choice. Users can find installation guidance on the official website to ensure an updated setup. Be it local or internet connections, TigerVNC delivers a secure and effective solution, combining a user-friendly interface with cross-platform compatibility.
You can set it up using:
sudo apt-get install tigervncserver
3. RealVNC
RealVNC is known for being user-friendly and can smoothly work on different types of computers. It has this cool feature where it easily adjusts to various operating systems. RealVNC maintains a VNC session. If you're up to install it, just swing by the official website. These super-friendly instructions make the whole process a piece of cake.
4. x11vnc
x11vnc is a valuable tool for sharing or accessing your current X server session remotely. This enables real-time collaboration, remote support, or the convenient sharing of your desktop activities. Its versatility caters to a range of needs, and the installation process is generally user-friendly, accommodating individuals with different levels of technical know-how. If you're looking for an efficient solution to share or remotely access X server sessions, x11vnc is worth considering.
Enable sharing of your current X server session with x11vnc. Install it using:
sudo apt-get install x11vnc
5. Vino
Vino is a handy tool that is the default VNC server for the GNOME desktop environment. It makes sharing your desktop or remote access a breeze. For GNOME users, enabling Vino is a straightforward process—head to the Settings menu, click on Sharing, and choose Screen Sharing.
This uncomplicated setup makes Vino a top choice for anyone seeking an easy and integrated VNC server solution for their GNOME desktop. Whether you're collaborating on projects, getting remote help, or simply showcasing something interesting on your screen, Vino is a reliable go-to option.
How Does the VNC Model Work?
The VNC model operates with a setup like a team, consisting of two leading players: the host computer (known as the server) and the remote computer you use to control it (the client).
The server, residing on the computer you want to control, handles the heavy lifting. When your client computer connects, the remote server captures the entire default desktop environment and sends it to you. It conjures up a digital clone of the other computer's screen on your own.
Think of the VNC viewer like this fancy mirror. It magically shows you exactly what's happening on another computer's screen, and the best part is You get to be the wizard in control, all from a distance.
Benefits of Ubuntu Remote Access
Delving into Ubuntu computer remote access reveals many benefits that elevate your computing experience. Let's explore these advantages in detail:
1. Accessibility
Global Connectivity
Gain the flexibility to securely connect to your Ubuntu system from any corner of the globe, leveraging the power of remote access with just an internet connection. This liberty empowers users to access files, applications, and desktop environments remotely, offering unparalleled control without geographical constraints.
Seamless Device Integration
You can experience the versatility of linking to your Ubuntu system service using diverse devices like laptops, tablets, and smartphones. RealVNC Connect smoothly functions on various platforms, extending beyond Ubuntu and offering compatibility with Windows, MacOS, and different Linux operating systems. This ensures a smooth, hassle-free remote access solution that fits into your diverse technology ecosystem.
2. Support and Collaboration
Screen Sharing for Seamless Collaboration
You can forge effective collaborations by sharing your screen with colleagues, friends, or family through Ubuntu remote access. Beyond simple assistance, it fosters a collaborative environment where a shared visual workspace becomes a valuable asset. Whether for troubleshooting or joint projects, this feature simplifies communication and teamwork.
Efficient Troubleshooting
Swiftly troubleshoot technical issues on Ubuntu systems by a local computer and remotely accessing and diagnosing problems. The ability to share screens enhances the efficiency of technical support, ensuring prompt issue resolution.
3. Cost Reduction
Savings in Hardware Maintenance
Ubuntu remote access minimizes costs associated with hardware maintenance. Technicians can diagnose and address issues remotely, diminishing the necessity for in-person visits and related expenditures.
Centralized System Management
Managing multiple systems efficiently from a centralized location leads to cost savings compared to maintaining individual physical machines. The centralized approach to system management proves both cost-effective and time-saving.
In summary, Ubuntu remote access offers convenience and flexibility and fosters collaborative endeavors and cost-effectiveness in the management of computing resources.
Prerequisites to Setting Up VNC Server on Ubuntu
The necessary prerequisites for setting up a VNC server on a Ubuntu system are as follows:
-
Comparable command-line and accessibility to the interface on the Ubuntu device
-
Efficient Internet connection
-
A non-admin user granted sudo privileges.
Install VNC Server on Ubuntu
Commence initiating the Ubuntu VNC Server instance, a critical step in establishing a resilient and secure remote access framework. This segment will lead you through the RealVNC Server installation on your Ubuntu machine and configure VNC.
Additionally, you'll explore the necessity of creating a RealVNC account, a component for licensing and fortifying your Ubuntu server. This preliminary phase lays the foundation for unlocking the extensive capabilities of seamless and secure remote access on your Ubuntu system.
1. Update System Packages
Update the system packages before installing the VNC server on your Ubuntu buddy. Ensure it's all with the latest software bling and security patches. Just type in these commands in the terminal, and you're good to go:
sudo apt update
sudo apt upgrade
These commands will refresh the package lists and upgrade the installed packages, ensuring a secure and up-to-date environment for the subsequent VNC server installation.
2. Install VNC Server on Ubuntu
Begin your journey by installing the RealVNC Server on your Ubuntu machine on your local computer. Open a terminal and navigate to the directory where the installer is located. Execute the necessary commands to initiate the installation process. This foundational step is essential for creating a secure and efficient environment.
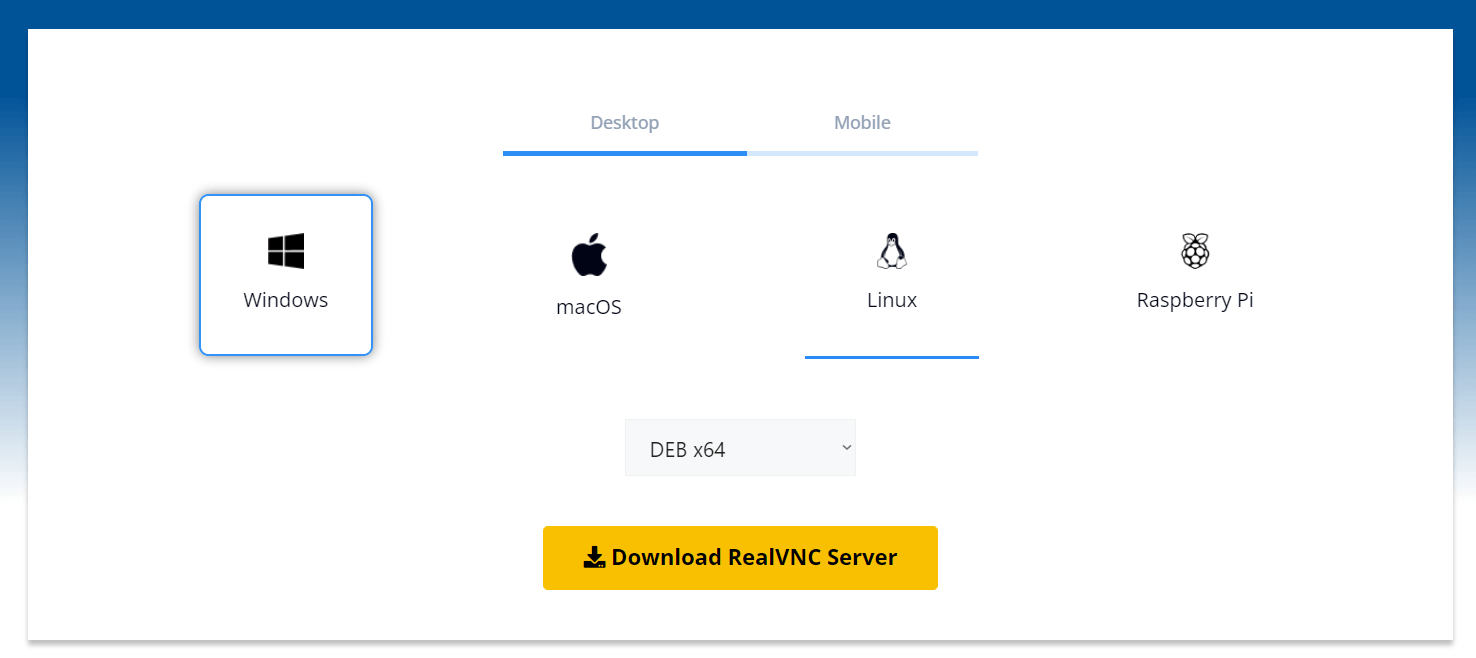
Click on the RealVNC Server installer from the official repository or website.
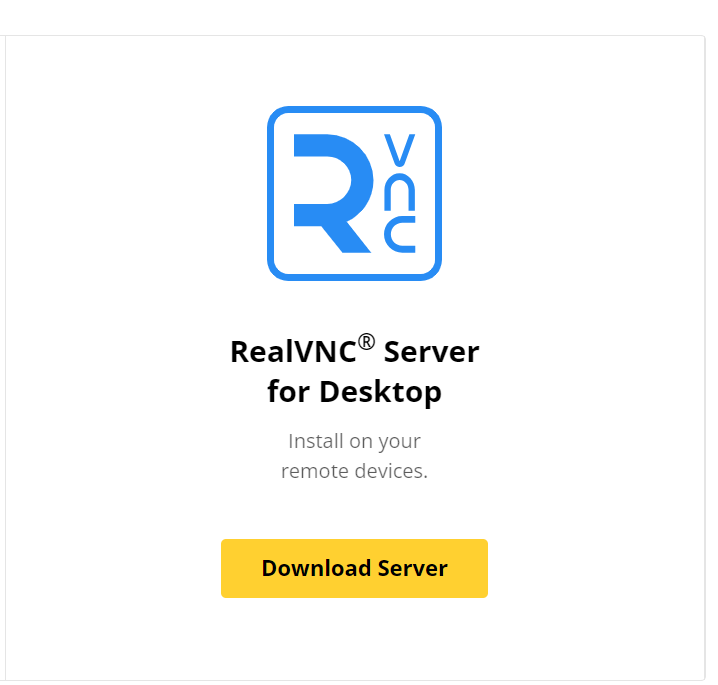
Download your operating system, such as Windows, Mac OS, Linux, etc.
Open a terminal on your Ubuntu machine and navigate to the directory containing the installer using the following command line.
cd /path/to/directory
Make the installer executable and run it by following the command.
chmod +x RealVNC-Server-Installer.sh
./RealVNC-Server-Installer.sh
Opt for the "Install VNC Server" option during installation.
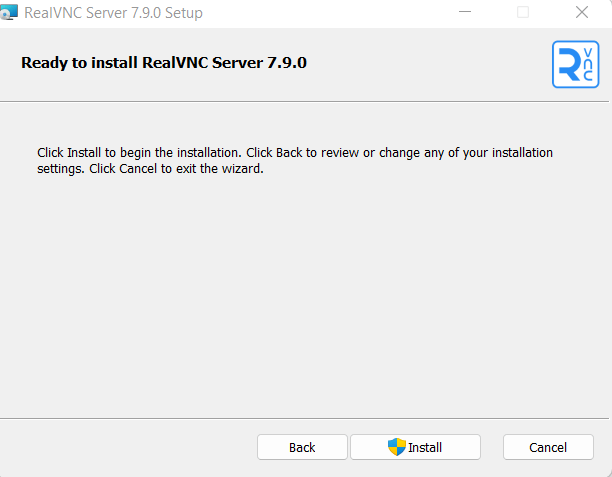
This foundational step is essential for creating a secure and efficient remote access environment.
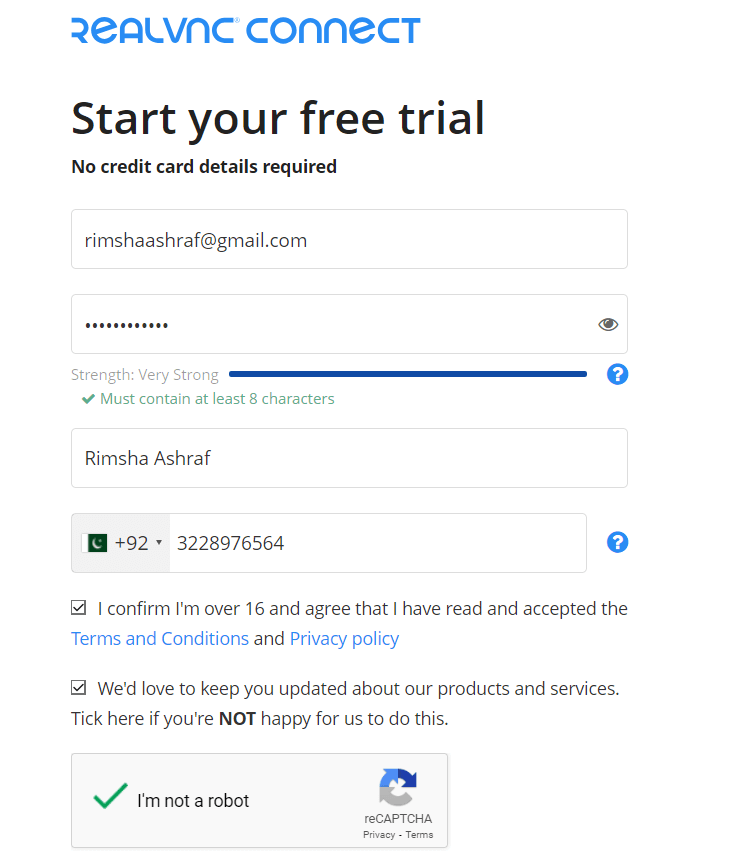
A RealVNC account is imperative for licensing and securing the VNC Server.
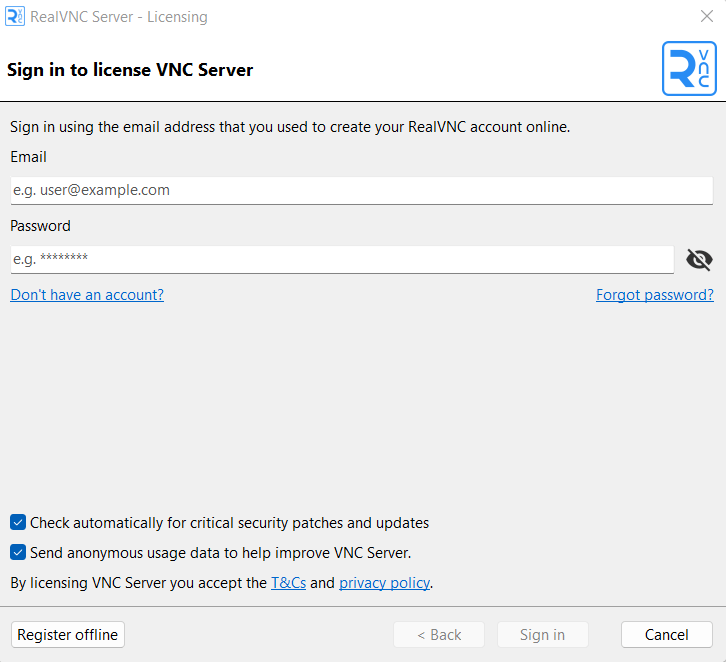
If you lack an account, sign up on the RealVNC website.
Provide the necessary details to create your account.
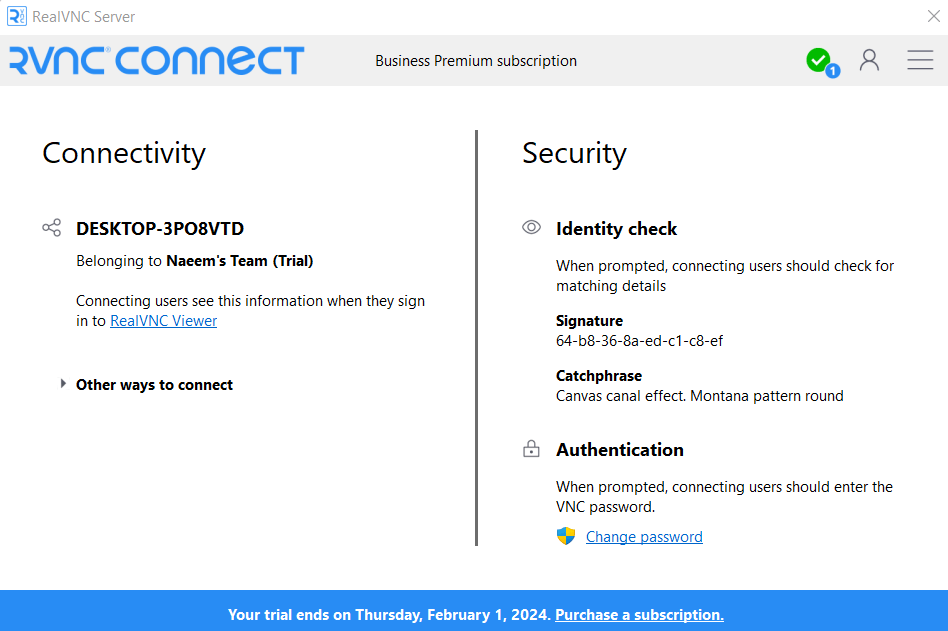
3. Configuration and Start the VNC Server on Ubuntu
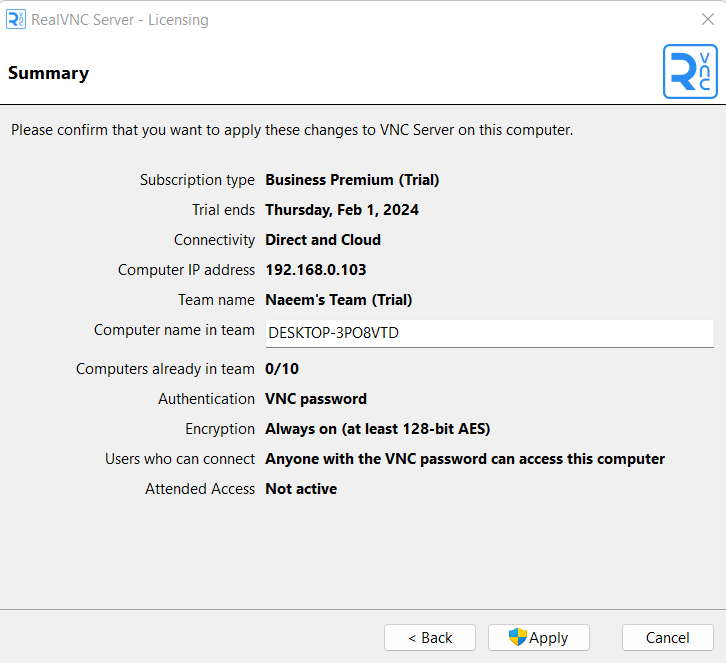
With the RealVNC Server installed and your account created, the next step involves fine-tuning the configuration for optimal performance and security. This section emphasizes critical aspects such as configuring the VNC connection and cloud connections and setting a robust password.
The guide walks you through the intricacies of these configurations to ensure your VNC on Ubuntu is functional and well-protected, allowing you to enjoy secure remote access.
After installation, launch the RealVNC Server program on your Ubuntu machine.
Sign in with your RealVNC account during the setup process.
License the server, ensuring you set a robust password to fortify the security of your remote access environment.
VNC servers allow multiple commands for their operations.
Vncserver command is used to start a VNC server using a VNC server port on a Unix-like system. It launches a new, VNC client instance, allowing remote access to the desktop environment of the local machine where the startup script is executed.
vncserver
The following command to set a VNC password is typically done using the vncpasswd command.
This command allows you to set or change the VNC password associated non root user name with a VNC server.
vncpasswd
The usr bin vncserver -kill command is handy for gracefully terminating a running VNC server instance.
/usr/bin/vncserver -kill :1
During configuration, decide on cloud connections based on your securely connected preferences.
Connecting to Virtual Network Computing VNC server
Connecting with a VNC server involves procedures tailored to different operating systems. These steps ensure a secure and smooth connection, whether on Linux, macOS, or Windows. Follow the provided instructions based on your operating system to connect to the VNC server successfully.
Set Up SSH Tunneling on Linux and macOS
Enhance VNC connection security with SSH tunnel. Secure Shell (SSH) tunnel provides additional security for VNC connections. It securely connects VNC traffic by encrypting it, thwarting unauthorized SSH access, and safeguarding sensitive information through SSH tunnel connection.
Execute the following SSH command with a local port for an SSH tunnel by using a terminal window.
ssh -L 5901:127.0.0.1:5901
-N -f -l username server_ip
In the provided code, substitute 'username' with your SSH tunnel user identifier and replace 'server_ip' with your server's IP address.
Set Up SSH Tunneling on Windows
Windows users can also benefit from the added security of SSH tunneling when connecting to a VNC server. Follow the provided steps for Windows to set up SSH tunneling, ensuring a protected connection to your VNC server.
# Example PowerShell command for setting up SSH tunneling on Windows
ssh -L 5901:localhost:5901 -N -f -l <username> <your_server_ip>
Connecting using VNCViewer
VNCViewer is like your trusty sidekick for linking up with VNC servers. Mastering the art of VNCViewer, regardless of your operating system, opens up a world of easy access to your VNC server. This VNC client software has a user-friendly and feature-packed interface like a pro. It's your go-to tool for a seamless and rich remote desktop experience.
Let's start your exploration of the RealVNC Viewer installation and setup process, a critical step in enabling smooth remote access to your Ubuntu machines. This section will walk you through the necessary procedures, from installing the companion tool on user-side devices like local computers to signing into your RealVNC account.
Get ready to establish seamless connections with your Ubuntu VNC Server, ensuring a secure and hassle-free remote desktop experience.
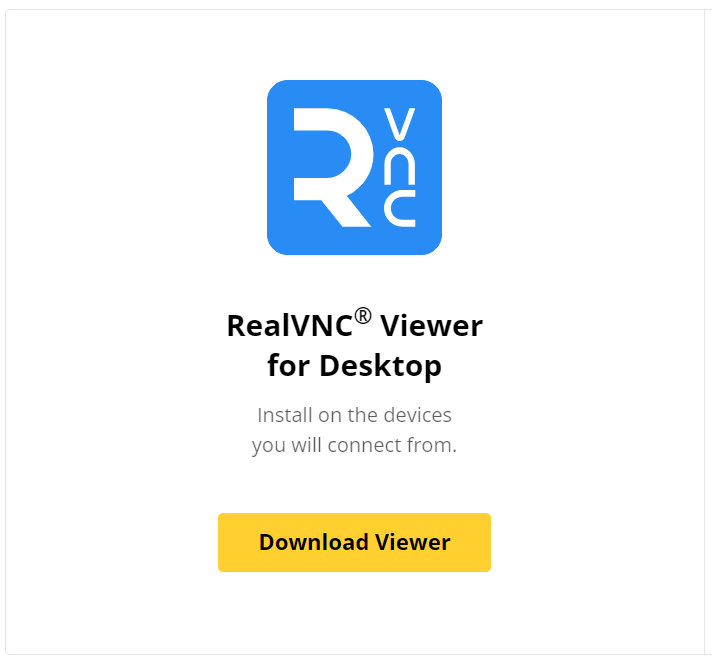
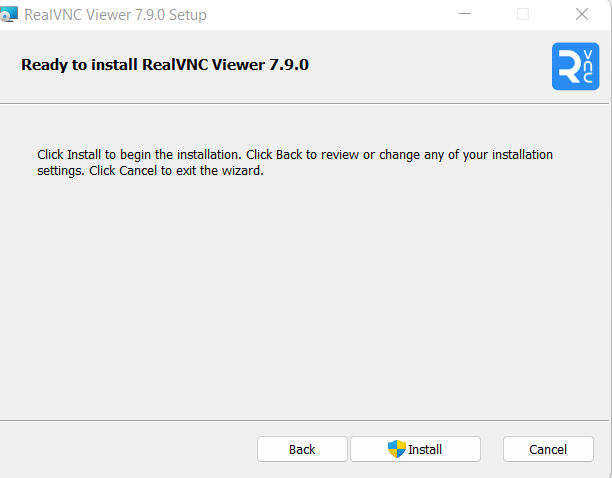
1. Installing the Companion Tool
Commence by installing the RealVNC Clients on user-side devices, a crucial element for establishing remote access to your Ubuntu machines.
Open a terminal on your system, then navigate to the directory where the RealVNC Viewer installer is located using the following command:
cd /path/to/installer-directory
Execute the installer to initiate the installation process and install VNC.
./vnc-viewer-installer
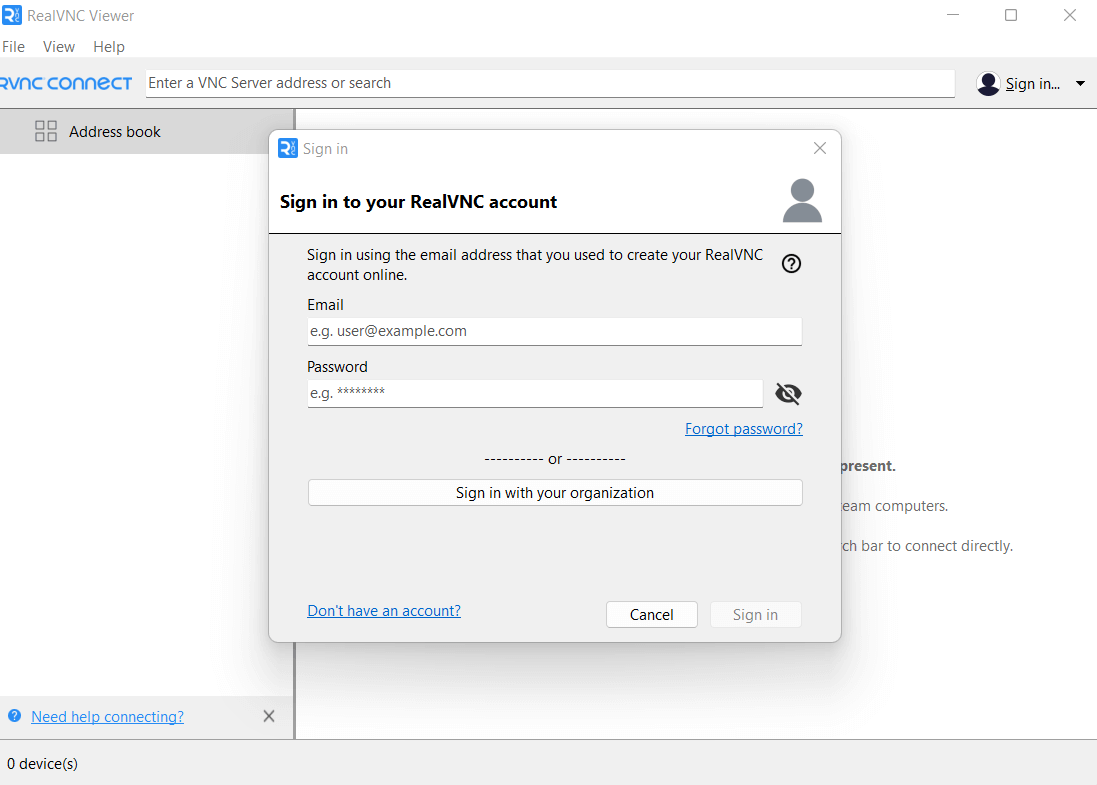
2. Signing into Your Account
After successfully installing the RealVNC Viewer, sign in with your RealVNC account to gain access to cloud connections and streamline communication with other team machines. This step ensures a smooth and secure connection between the viewer and the Ubuntu VNC Server.
3. Establishing a Seamless Connection
Head to the list of devices accessible on your network, identify the desired Ubuntu machine and perform a double-click. This uncomplicated process forms a seamless connection to your secure Ubuntu remote desktop, providing you with effortless access to the advantages of remote functionality.
Conclusion
In remote computing, the Ubuntu VNC Server generates a potent force, offering users a gateway to seamless and secure desktop access. This guide has navigated through crucial steps, from installing RealVNC Server to account creation and configuration, equipping users to unlock the full potential of remote access on their Ubuntu systems.
RealVNC's pivotal role in enhancing Ubuntu remote access has been a focal point, emphasizing its optimized performance, cross-platform compatibility, and robust security measures.
Ready to implement remote access using a VNC server on your own VPS? Discover how our VPS solutions can enhance your remote computing experience.
Visit our website to learn more.
Frequently Asked Questions
Does Ubuntu have VNC?
Ubuntu typically includes a VNC server called "Vino" by default. Users can enable and configure VNC on Ubuntu for remote desktop access.
What is Ubuntu VNC?
Virtual Network Computing, or Ubuntu VNC, is a graphical desktop sharing system that lets users view and control graphical desktops from a distance. Users of Ubuntu can share or create new desktops for remote access through VNC servers like x11vnc and TightVNC.
Is VNC better than RDP?
Depending on particular requirements, one may choose between RDP (Remote Desktop Protocol) and VNC. Although RDP is sometimes seen as more effective on Windows systems, the VNC protocol is more flexible and platform-independent. The "better" choice depends upon various factors, including user preferences, performance needs, and the operating systems.

Rimsha Ashraf is a technical content writer and software engineer (available on LinkedIn). She has written 1000+ articles and blogs and has completed over 200 projects on various freelancing platforms. She specializes in topics such as cybersecurity, cloud computing, machine learning, artificial intelligence, blockchain, and cryptocurrency.