Screenshots are a convenient way to capture and share information on your computer screen. Whether you want to save a funny meme, document an important error message, or share a portion of your screen with others, taking screenshots is valuable.
A very commonly asked question is how to take screenshots on Windows 11. In this article, we will guide you through taking screenshots in Windows 11, the latest operating system from Microsoft.
-
- Method 1
- Method 2
- Method 3
- Method 4
- Capturing Screenshots with Windows 11's Enhanced Snip & Sketch Tool
- Utilizing the Clipboard History for Screenshots
- Taking Screenshots of Specific Portions with Snip Outline
- Automatically Saving Screenshots to a Custom Location
- Sharing Screenshots with Windows 11's Share Functionality
- Capturing Screenshots with Third-Party Applications
- Using Windows 11's Screenshot Settings
- Remembering Keyboard Shortcuts for Efficient Screenshotting
- About Us
Method 1
Using Keyboard Shortcuts Windows 11 provides several keyboard shortcuts to capture screenshots quickly. Let's explore the different options:
Full-Screen Screenshot:
-
Print Screen key
-
Press the "PrtScn" or "Print Screen" key on your keyboard.
-
The screenshot will be saved to the Screenshots folder in your Pictures directory.
-
-
Active Window Screenshot
-
Press "Alt + PrtScn" together to capture only the active window.
-
The screenshot will also be saved to the Screenshots folder.
-
Method 2
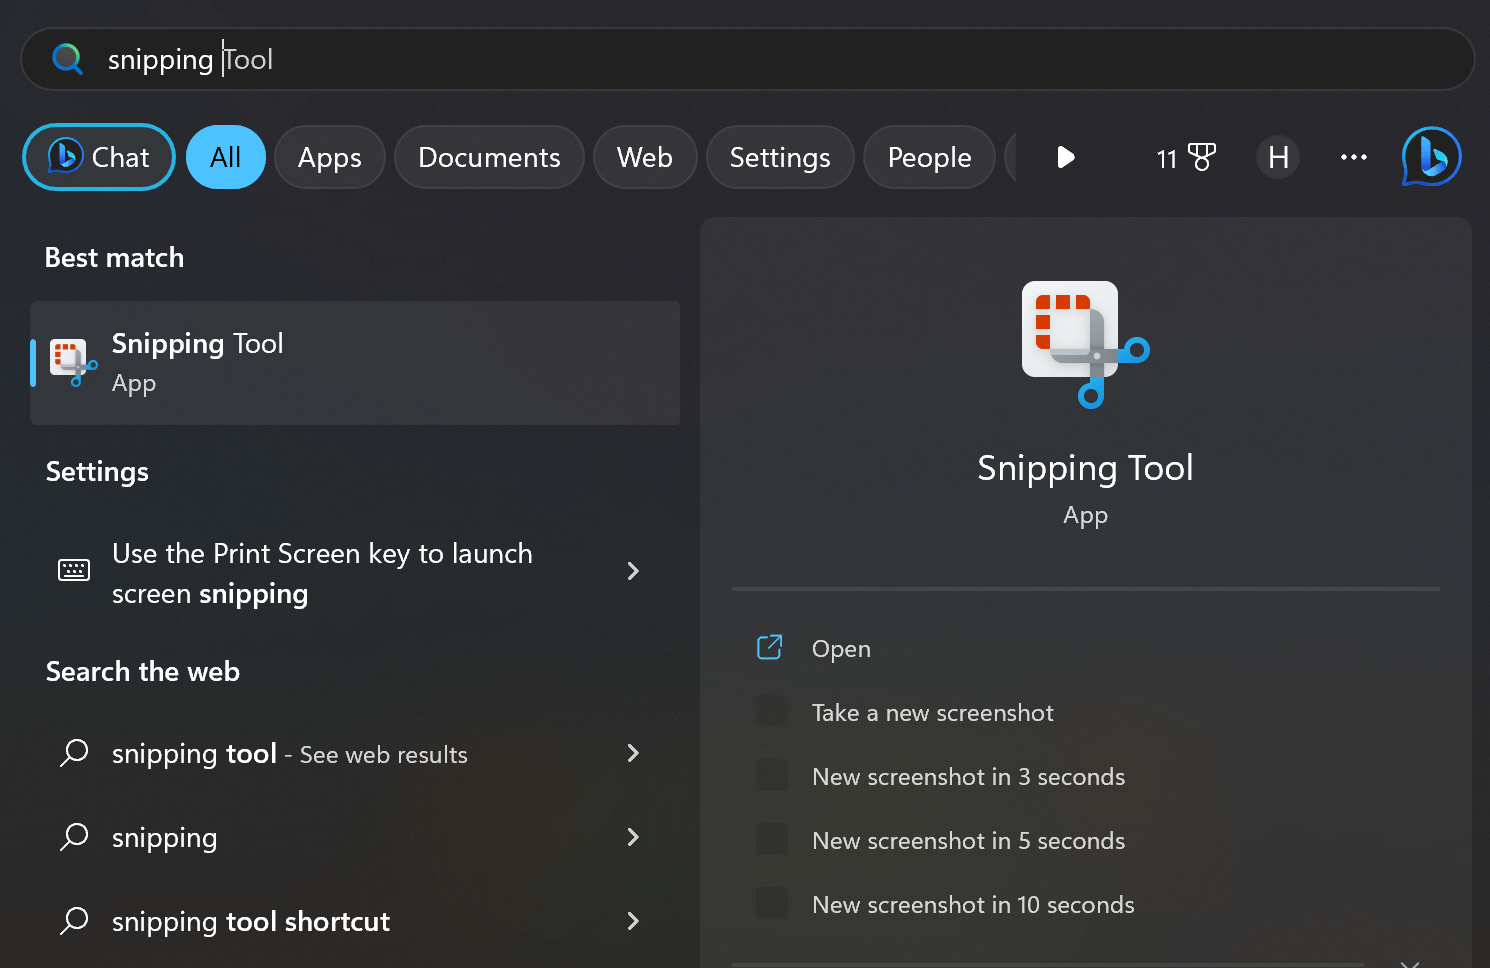
Using the Snipping Tool. Windows 11 still includes the classic Snipping Tool, which offers more advanced screenshot options. Here's how to use it:
-
Launch the Snipping Tool:
-
Click on the Start button and search for "Snipping Tool."
-
Open the Snipping Tool application.
-
-
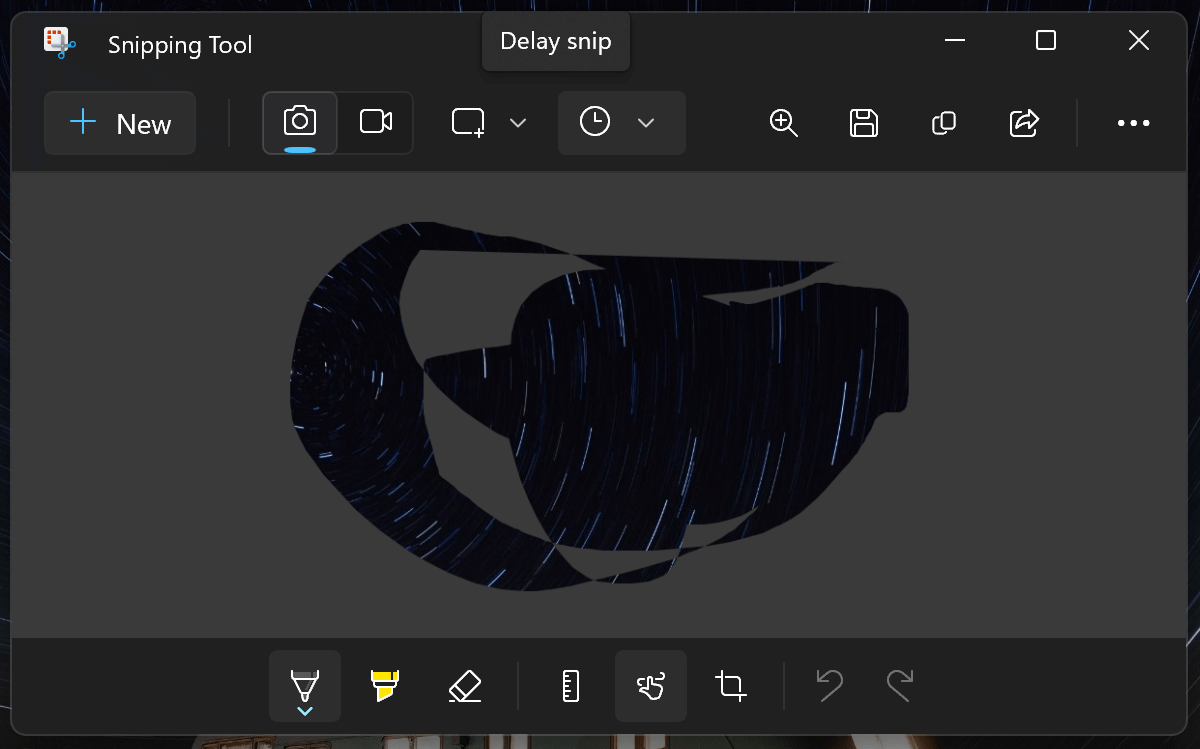
Capture the Desired Area:
-
Click on "New" in the Snipping Tool window.
-
Please select the area you want to capture by dragging the cursor around it.
-
Release the mouse button to capture the selected area.
![Random Selected Area Screenshot using Snipping Tool]()
-
-
Save or Share the Screenshot:
-
Once you've captured the screenshot, you can annotate it if needed.
-
Click on "File" and choose options like "Save As" or "Copy" to save or share the screenshot.
-
Method 3
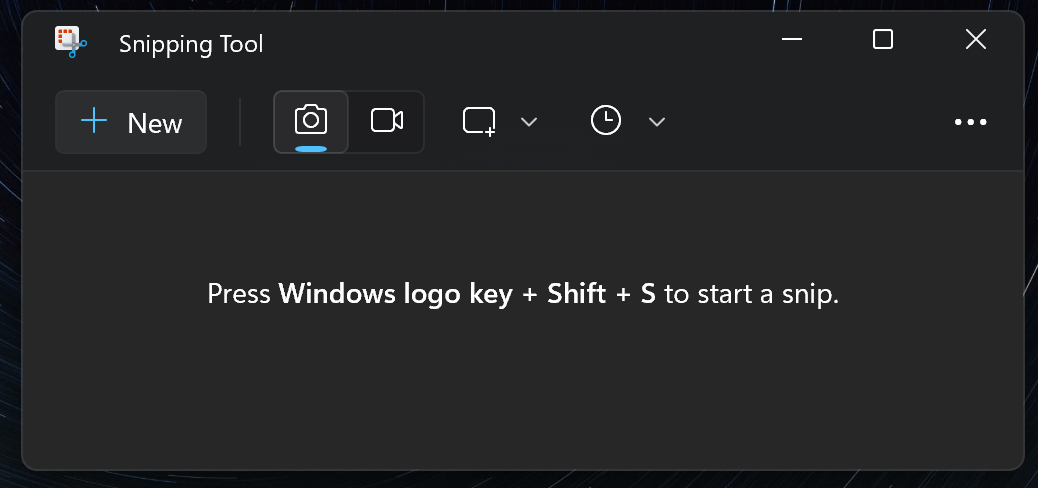
Using the Windows + Shift + S Shortcut, Windows 11 introduced a new built-in screenshot tool called "Snip & Sketch" that allows you to capture screenshots and make basic edits. Here's how to use it:
-
Activate Snip & Sketch:
-
Press the Windows key + Shift + S on your keyboard.
-
The screen will dim, and a toolbar will appear at the top of the screen.
-
-
Capture the Desired Area:
-
Select the type of screenshot you want to take from the toolbar (rectangular, freeform, window, or fullscreen).
-
Capture the desired area by clicking and dragging the cursor.
-
-
Annotate and Save:
-
Once you've captured the screenshot, you can annotate it using the available tools.
-
Click the "Copy" or "Save" button in the Snip & Sketch toolbar to save or copy the screenshot to the clipboard.
-
Method 4
Using the Game Bar If you're an avid gamer or want to capture screenshots from games or other applications, Windows 11's built-in Game Bar can be a handy tool:
-
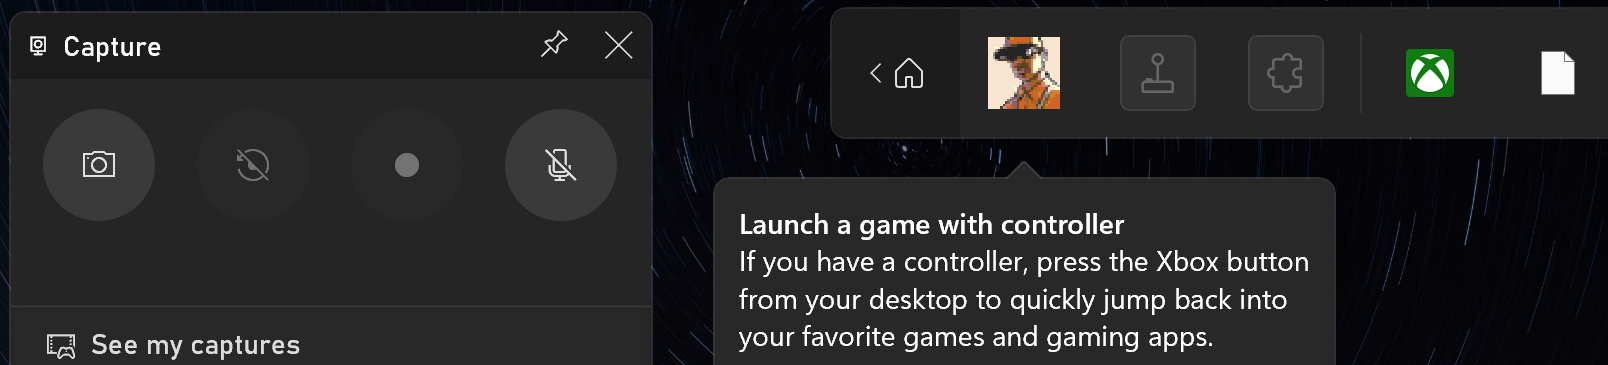
Open the Game Bar:
-
While in a game or application, press "Win + G" to open the Game Bar.
-
If prompted, confirm that it is a game or application you want to capture.
-
-
Capture the Screenshot:
-
Click on the camera icon in the Game Bar menu to capture a screenshot.
-
The screenshot will be saved to the Captures folder in your Videos directory.
-
Capturing Screenshots with Windows 11's Enhanced Snip & Sketch Tool
Windows 11 introduces an enhanced version of the Snip & Sketch tool, making it even more versatile for capturing and editing screenshots. After capturing a screenshot, the Snip & Sketch tool opens a floating window where you can crop, annotate, draw, and add text to your screenshot.
The improved image editing program and features allow you to highlight important information, blur sensitive data, and even use a digital pen for more precise annotations. Once satisfied with the edits, you can save or share the screenshot directly from the Snip & Sketch tool.
Utilizing the Clipboard History for Screenshots
Windows 11's Clipboard History feature can be valuable when taking multiple screenshots or copying and pasting content. By pressing "Win + V" on your keyboard, you can access the Clipboard History, which displays your recent screenshots and copied items.
This feature allows you to select and paste any previously captured screenshots, eliminating the need to manually search for and open the saved image file. It's a convenient way to manage and reuse screenshots without cluttering your entire desktop or folders.
Taking Screenshots of Specific Portions with Snip Outline
Windows 11 offers a new feature called Snip Outline, which allows you to take screenshots of specific portions of your screen quickly. A resizable and movable snipping frame appears on your screen by pressing "Win + Shift + S" and choosing the Snip Outline option.
You can drag and adjust the frame to capture the image editor in the desired area and release the mouse button to capture the screenshot. This feature is particularly useful when capturing irregularly shaped or specific portions of an application capture window or website.
Automatically Saving Screenshots to a Custom Location

Windows 11 provides flexibility in customizing where your screenshots are automatically saved. To change the default location, follow these steps:
-
Open the Settings app by clicking the Start button and selecting the gear-shaped icon.
-
Navigate to the System section and click "Storage" in the left sidebar.
-
Scroll to the "Save locations" section and click "Change where new content is saved."
-
Under the "Screenshots" section, click the dropdown menu and select your preferred storage location, such as a specific folder or an external drive.
-
Windows 11 automatically saves screenshots to the chosen location, ensuring easy access and organization.
Sharing Screenshots with Windows 11's Share Functionality
Windows 11 simplifies the process of sharing screenshots with its integrated Share functionality. Once you've captured a screenshot using any of the methods mentioned earlier, you can quickly share it with others through various communication apps or social media platforms.
Click on the Share button, represented by an icon with three interconnected dots, and a sharing panel will appear on the right side of the screen. From there, you can choose the desired app or platform, add a message if needed, and instantly share the screenshot with friends, colleagues, or your social media followers.
Capturing Screenshots with Third-Party Applications
While Windows 11 provides several built-in methods for taking screenshots, you may also explore third-party applications for more advanced screenshotting features.
Various third-party tools offer additional functionalities, such as capturing scrolling webpages, recording screen activity, adding watermarks, or applying advanced editing effects.
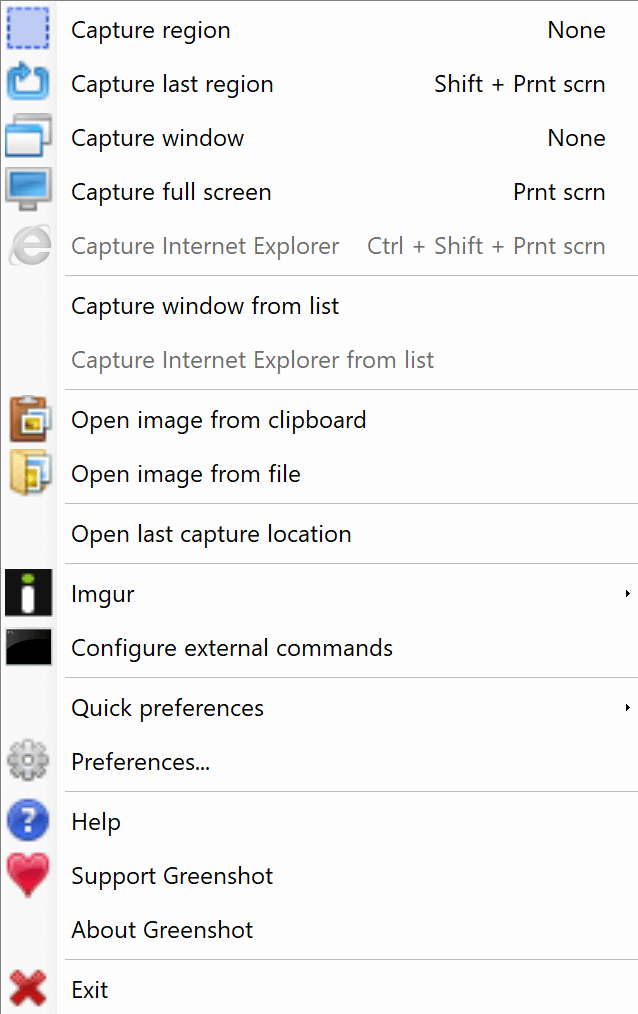
Some popular options include Snagit, Greenshot, Lightshot, and ShareX. These tools can be downloaded and installed from their respective websites, providing a broader range of key screenshotting capabilities to suit your specific requirements.
Using Windows 11's Screenshot Settings
Windows 11 includes dedicated screenshot settings allowing you to customize and fine-tune your experience. To access these settings, follow these steps:
-
Open the Settings app by clicking the Start button and selecting the gear-shaped icon.
-
Navigate to the System section and click "Display" in the left sidebar.
-
Scroll down to the "Capture" section, where you'll find options such as "Copy to clipboard" and "Notification on the screenshot."
-
Toggle these settings on or off according to your preference. For example, enabling the "Copy to clipboard" option lets you quickly paste screenshots into other applications without saving them as files.
Remembering Keyboard Shortcuts for Efficient Screenshotting
To become a proficient screenshot taker in Windows 11, it's helpful to remember the keyboard shortcuts mentioned earlier. These shortcuts provide a quick and efficient way to capture screenshots without navigating through menus or searching for specific tools.
By practicing and familiarizing yourself with the shortcuts, you can streamline your workflow and capture screenshots seamlessly whenever needed.
About Us
VPSServer.com is a leading provider of reliable and high-performance virtual private servers (VPS). We offer cutting-edge technology, robust infrastructure, and exceptional customer support. We empower businesses and individuals to succeed in the digital landscape with scalable solutions, affordability, and a commitment to excellence. Choose VPSServer.com for reliable VPS hosting and unlock the full potential of your online presence.
Frequently Asked Questions
How do I take a screenshot of a specific portion of the screen in Windows 11?
In Windows 11, you can capture a specific portion of the screen. One method is to use the Snip & Sketch tool. Press "Win + Shift + S" to activate the snipping tool app, and a snipping frame will appear on the screen. Then, drag and adjust the fullscreen snip frame to capture the desired area.
Where are screenshots saved in Windows 11?
By default, when you capture a screenshot in Windows 11, it is saved to the Screenshots folder within the Pictures directory. This provides a convenient location to find and organize your captured screenshots. However, if you prefer to save them to a different location, you can customize the save location by adjusting the settings in the Storage section of the Windows 11 Settings app.
Can I capture a screenshot of a specific window in Windows 11?
Yes, capturing a screenshot of a specific window is simple in Windows 11. You can press the "Alt + PrtScn" keyboard shortcut together, and it will capture a screenshot of the currently active window itself.
How do I capture a full-screen screenshot in Windows 11?
To capture a full-screen screenshot in Windows 11, use the traditional "PrtScn" or "Print Screen" key on your keyboard. Pressing this key captures the entire screen and saves it as a screenshot. You can use the print screen button and then access the full fullscreen screenshot from the Screenshots folder in the Pictures directory.
Can I take a screenshot using a keyboard shortcut in Windows 11?
Absolutely! Windows 11 provides several keyboard shortcuts for capturing screenshots quickly and conveniently. For instance, press the "PrtScn" or "Print Screen" key to capture a full-screen screenshot on the windows down. If you want to capture just the active window, you can use the "Alt + PrtScn" keyboard shortcut alt well. Additionally, the "Win + Shift + S" keyboard shortcut activates the Snip & Sketch tool, allowing you to capture a specific area or window on your screen.
Is there a way to annotate or edit screenshots in Windows 11?
Windows 11 offers built-in tools that allow you to annotate and edit screenshots. When you capture a screenshot using the Snip & Sketch tool, Snipping Tool, or Game Bar, the screenshot is automatically opened in an editing window where you can add text, draw shapes, highlight areas, and even crop the image. These editing tools provide basic functionality for enhancing and customizing screenshots without additional software.
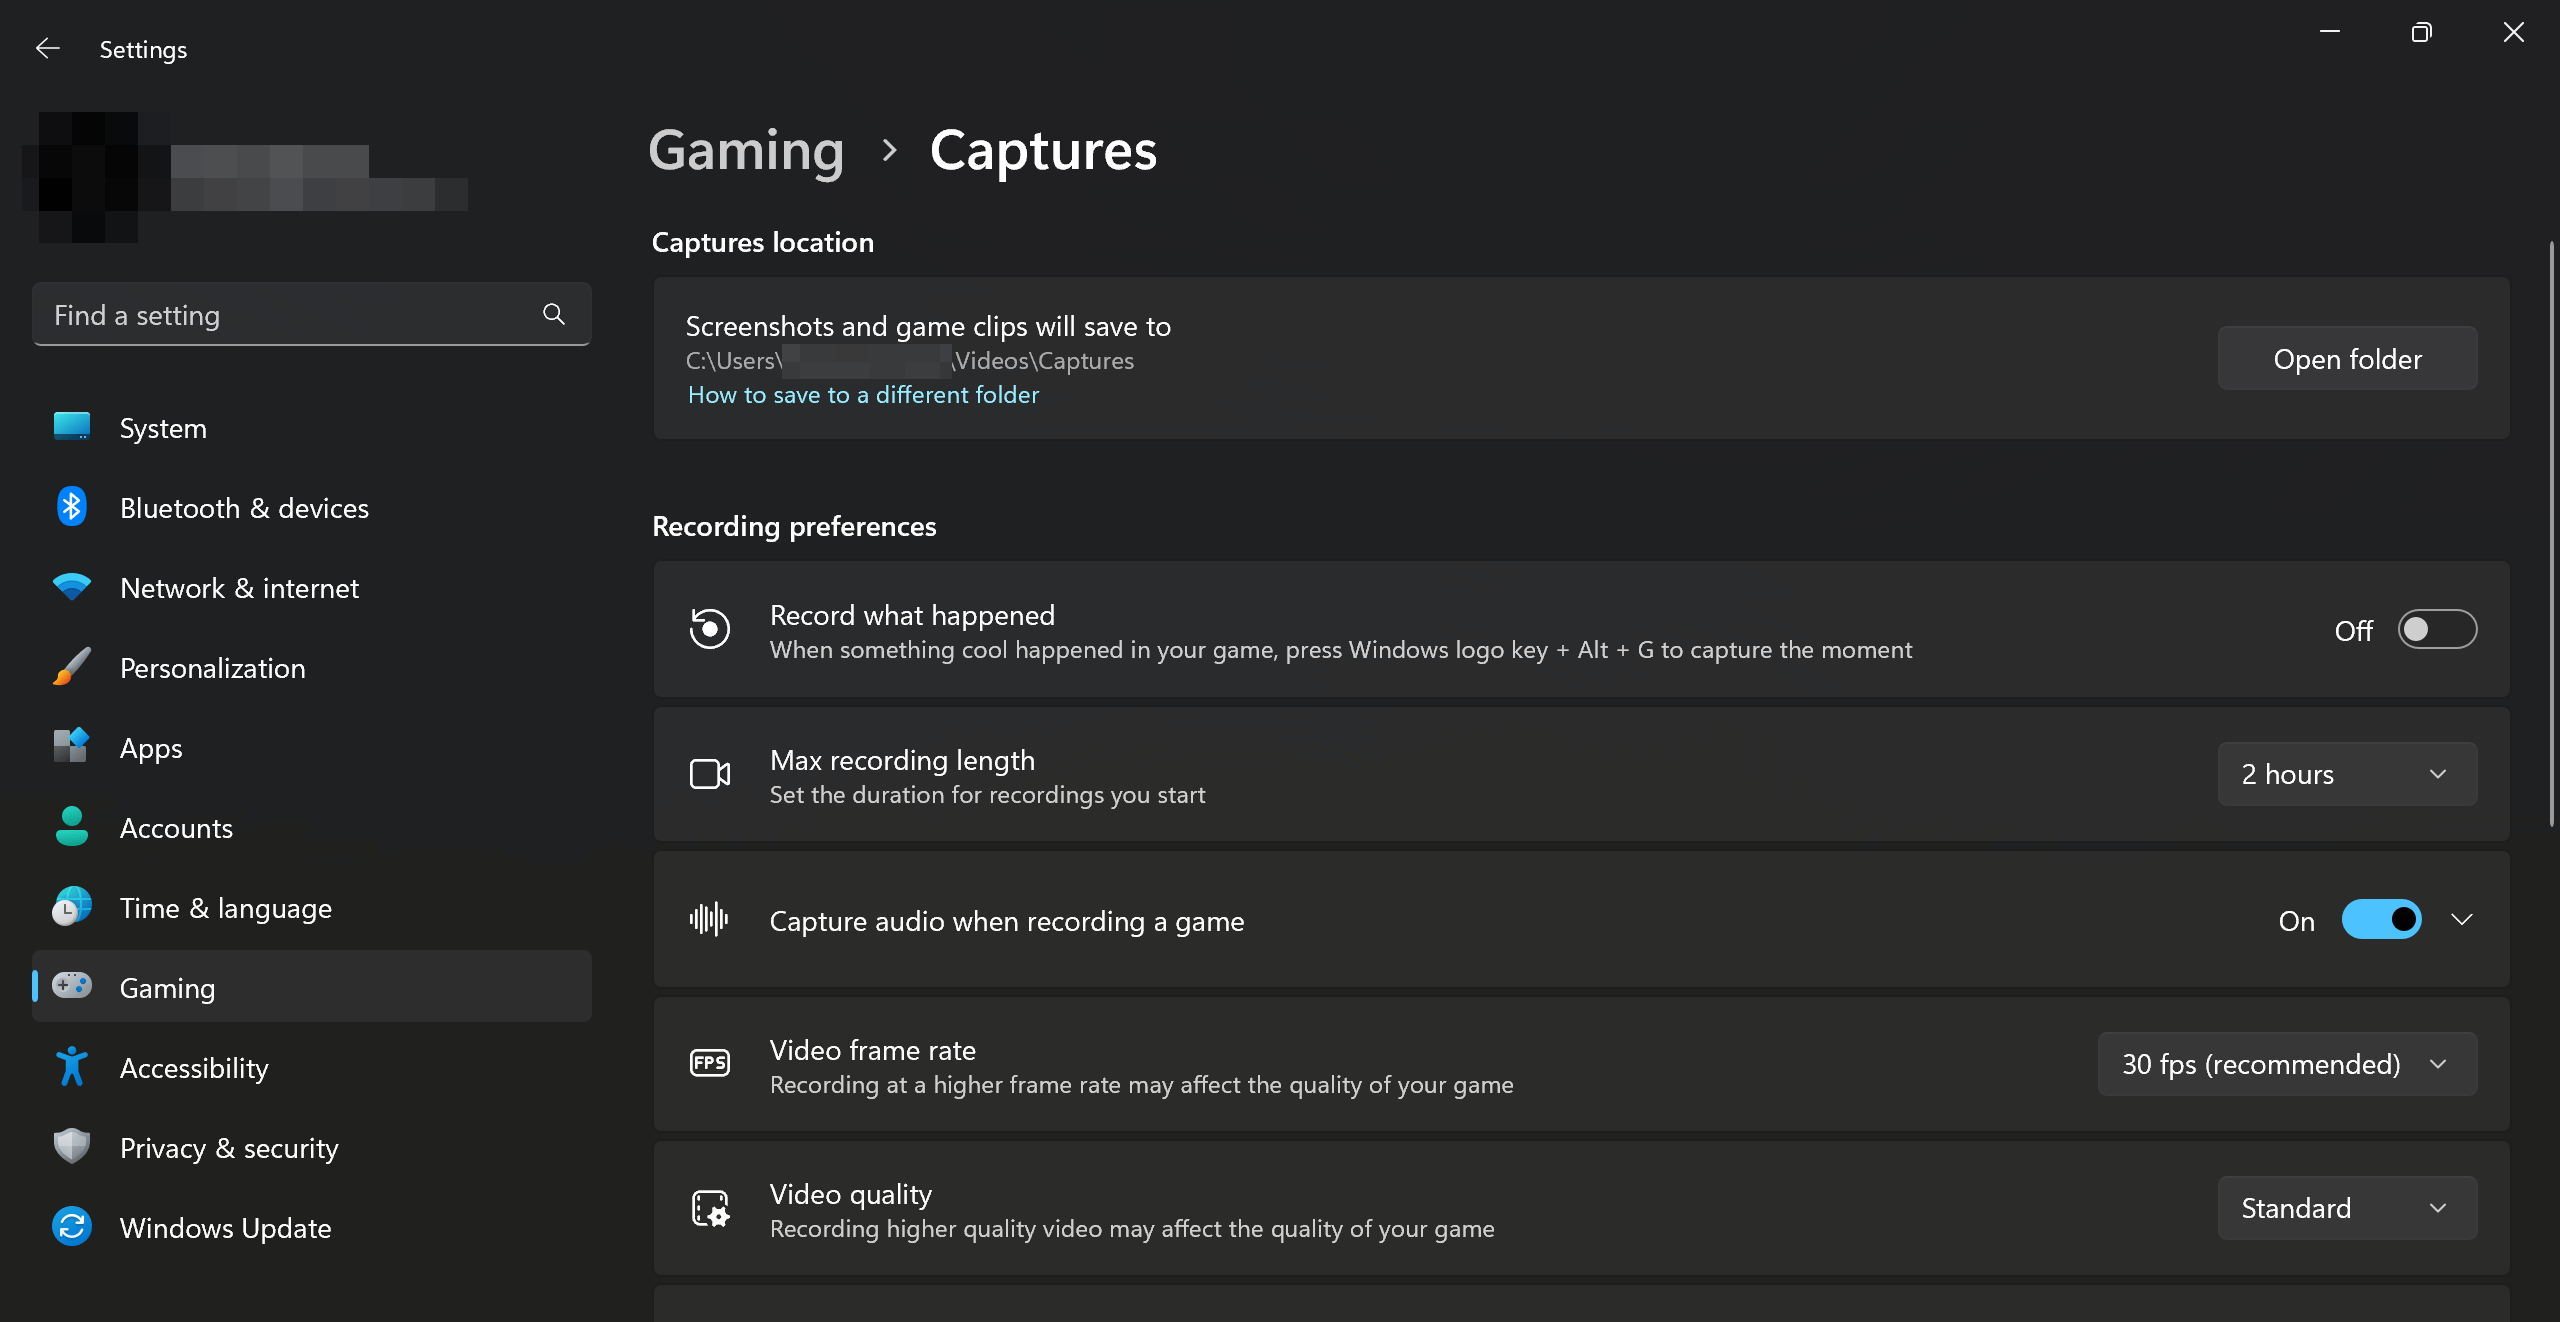
Can I capture screenshots while playing games on Windows 11?
Yes, Windows 11's Game Bar is specifically designed to allow you to capture screenshots of the whole screen while playing games or using other applications. While in a game or app, you can press "Win + G" to open the Game Bar overlay. From there, you can click on the camera icon to capture a screenshot of the current screen. The captured screenshot will be saved to the Captures folder within the Videos directory by default.
How can I share screenshots in Windows 11?
Windows 11 simplifies sharing screenshots through its integrated Share functionality. After capturing a screenshot, you can click the Share button, represented by an icon with three interconnected dots.
This action will open a sharing panel on the right side of the screen, displaying various apps and platforms you can use to share the screenshot. You can choose the desired app or platform, add a message if needed, and instantly share the screenshot with friends, colleagues, or your social media followers.
Are there any third-party applications for taking screenshots in Windows 11?
While Windows 11 provides robust built-in tools for capturing screenshots, third-party applications offer additional features and functionalities. Some popular third-party screenshot tools for Windows 11 include Snagit, Greenshot, Lightshot, and ShareX. You can download and install these third-party app tools from their websites to explore their full capabilities.
Can I customize the screenshot settings in Windows 11?
Windows 11 allows you to customize various screenshot settings according to your preferences. To access these settings, open the Settings app by clicking the Start button and selecting the gear-shaped icon. Then, navigate to the System section and click "Display" in the left sidebar. Scroll down to the "Capture" section, where you'll find options such as "Copy to clipboard" and "Notification on the screenshot." You can toggle these settings on or off based on your preferences. For example, enabling the "Copy to clipboard" option lets you quickly paste screenshots into other applications without saving them as files.
 (1).png)
Ozair is a cyber security professional. He holds a bachelor's degree in Cyber Security and was president of AUCSS (Air University Cyber Security Society). Ozair's expertise lies in Technical content writing, information security, and cybersecurity. As the founder of CySecOps, a cybersecurity company that specializes in SaaS & E-commerce digital security, Ozair is passionate about ensuring the safety of businesses online. Stay up-to-date with Ozair's work by following him on Twitter @OzairMalik13 or LinkedIn.

.png)