


Installing Zabbix on Ubuntu 20.04
Introduction
What is Zabbix?
Zabbix is an enterprice-class open source monitoring solution. Which can be used for monitoring of numerous parameters of a network and the health and integrity of servers, virtual machines, applications, services, databases, websites, the cloud and more. It is also possible to configure e-mail based alerts for virtually any event. This allows for a fast reaction to server problems. Zabbix offers excellent reporting and data visualisation features based on the stored data. This makes Zabbix ideal for capacity planning
Installing Zabbix
Step 1
Pre-requisites
After you logged in to your server you need to update to the latest available packages.
apt-get update -y
Step 2
Installing LAMP Server
Firstly we need to install Apache, MariaDB, PHP and some other extensions that are required.
apt-get install apache2 libapache2-mod-php mariadb-server php php-mbstring php-gd php-xml php-bcmath php-ldap php-mysql unzip curl gnupg2 -y
Once all the packages are installed, we need to edit the php.ini file and make some changes.
nano /etc/php/7.4/apache2/php.ini
Change the following settings to your likings. Or you can use the same as for the example.
memory_limit 256M
upload_max_filesize 16M
post_max_size 16M
max_execution_time 300
max_input_time 300
max_input_vars 10000
date.timezone = REGION/STATE
Save the file and restart the Apache service.
systemctl restart apache2
The changes will now be applied.
Step 3
Creating a Database for Zabbix
Now we need to create a database and user for Zabbix. First we need to login to the MariaDB shell.
mysql
Now we are going to create a database and user for Zabbix. Make sure to change the password with your own password that you will be using.
CREATE DATABASE zabbixdb character set utf8 collate utf8_bin;
CREATE USER 'zabbixuser'@'localhost' IDENTIFIED BY 'password';
Now we need to grant all privileges to the Zabbix database.
GRANT ALL PRIVILEGES ON zabbixdb.* TO 'zabbixuser'@'localhost' WITH GRANT OPTION;
Now flush the privileges and exit MariaDB.
FLUSH PRIVILEGES;
EXIT;
Step 4
Zabbix is not installed in the Ubuntu 20.04 standard repository by default so we need to install the repository first.
wget https://repo.zabbix.com/zabbix/5.0/ubuntu/pool/main/z/zabbix-release/zabbix-release_5.0-1+focal_all.deb
dpkg -i zabbix-release_5.0-1+focal_all.deb
No we need to update the repository and install the Zabbix server.
apt-get update -y
apt-get install zabbix-server-mysql zabbix-agent zabbix-frontend-php zabbix-apache-conf -y
After all the packages are installed we need to start the Zabbix service. We will also enable the service to start after a reboot.
systemctl start zabbix-server
systemctl enable zabbix-server
Now we need to import the Zabbix database schema. You will need to enter the password created earlier.
cd /usr/share/doc/zabbix-server-mysql
zcat create.sql.gz | mysql -u zabbixuser -p zabbixdb
It can take several minutes before the zcat command finishes.
Now we need to edit the default Zabbix configuration file.
nano /etc/zabbix/zabbix_server.conf
Change the following lines. Make sure to enter the password you created earlier. You will need to uncomment (#) DBHost and DBPassword.
DBHost=localhost
DBName=zabbixdb
DBUser=zabbixuser
DBPassword=password
Save and close the file. Now we need to restart the Apache and Zabbix services.
systemctl restart zabbix-server
systemctl restart apache2
Step 5
Configuring the Zabbix Agent.
We need to configure the zabbix-agent in our system. You can configure this by editing the zabbix_agentd.conf file.
nano /etc/zabbix/zabbix_agentd.conf
Change the following lines.
Server = 127.0.0.1
ServerActive = 127.0.0.1
Hostname = Zabbix Server
Save and close the file and then start the Zabbix agent service and enable it so that it will start after a reboot.
systemctl start zabbix-agent
systemctl enable zabbix-agent
Step 6
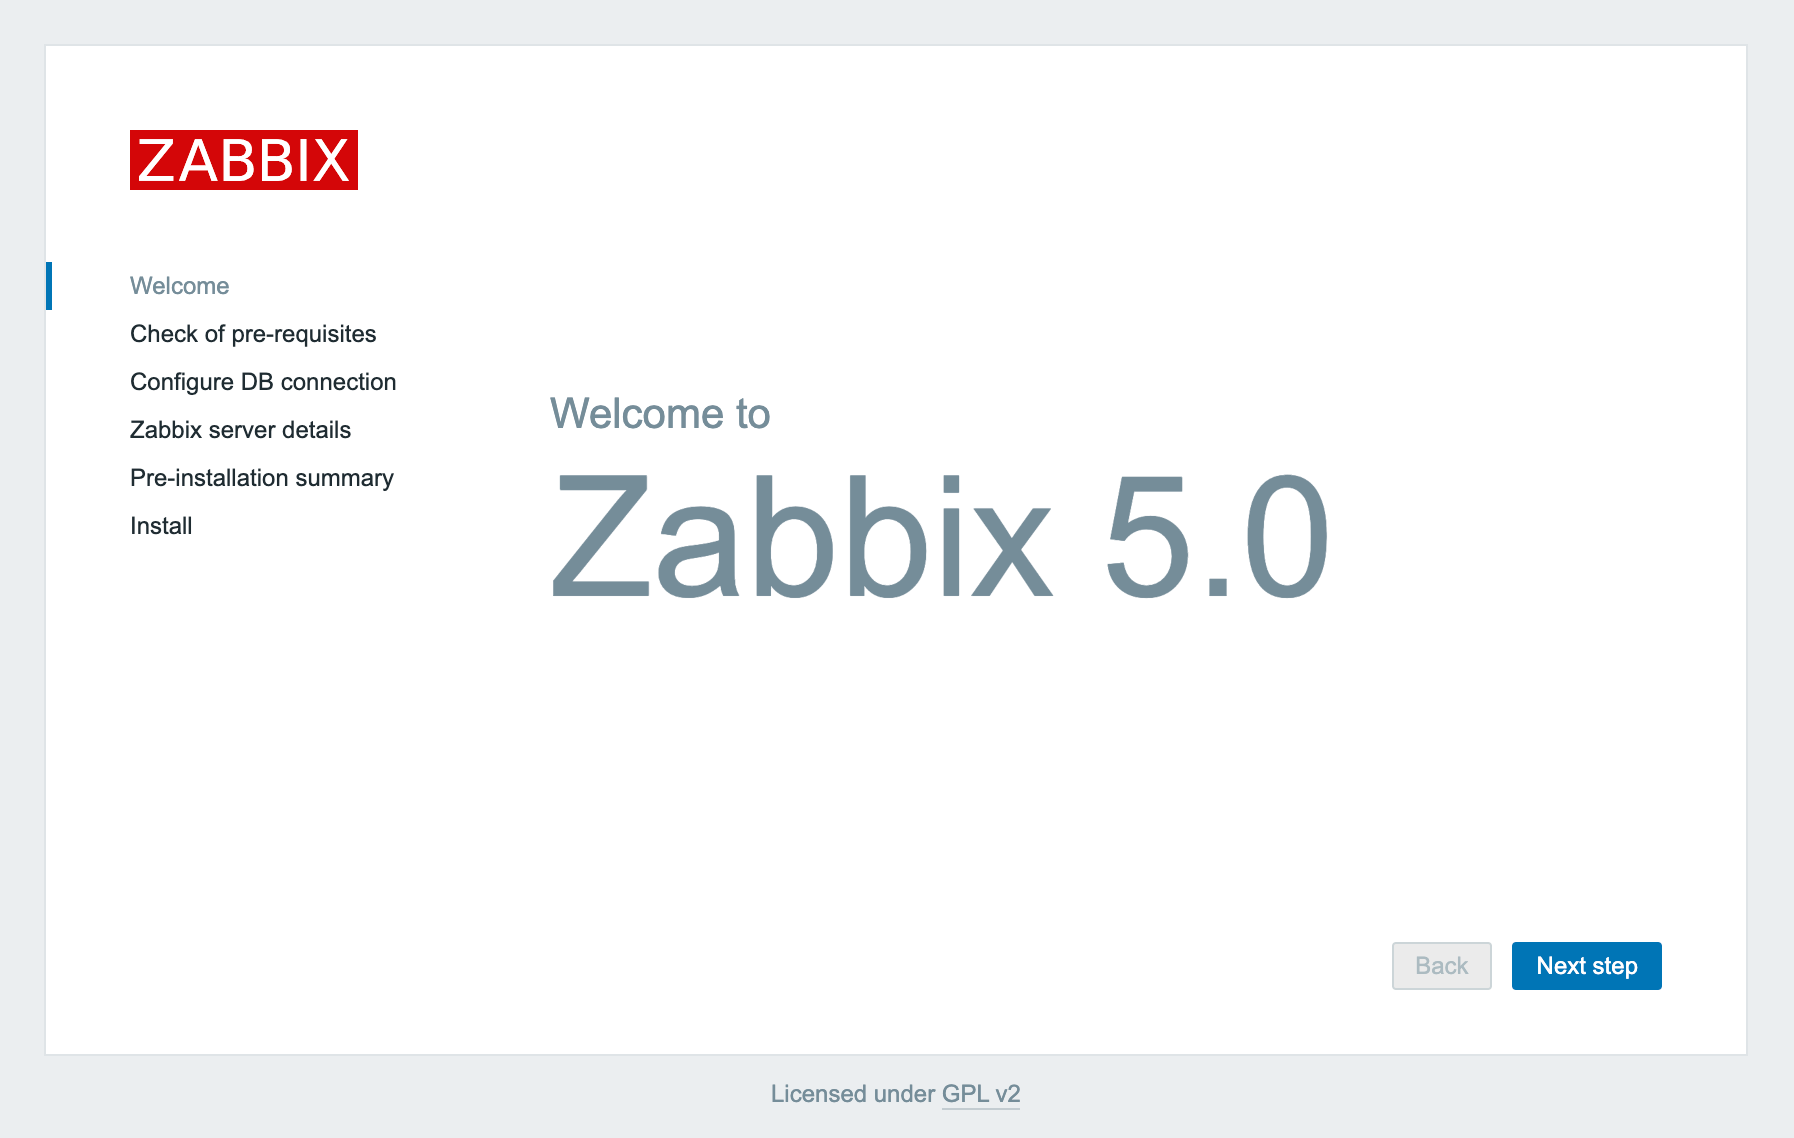
Enter the Zabbix dashboard via http://YOUR-SERVER-IP/zabbix You will be redirected to the Zabbix welcome page.
Click on Next Check if all the pre-requisites are installed.
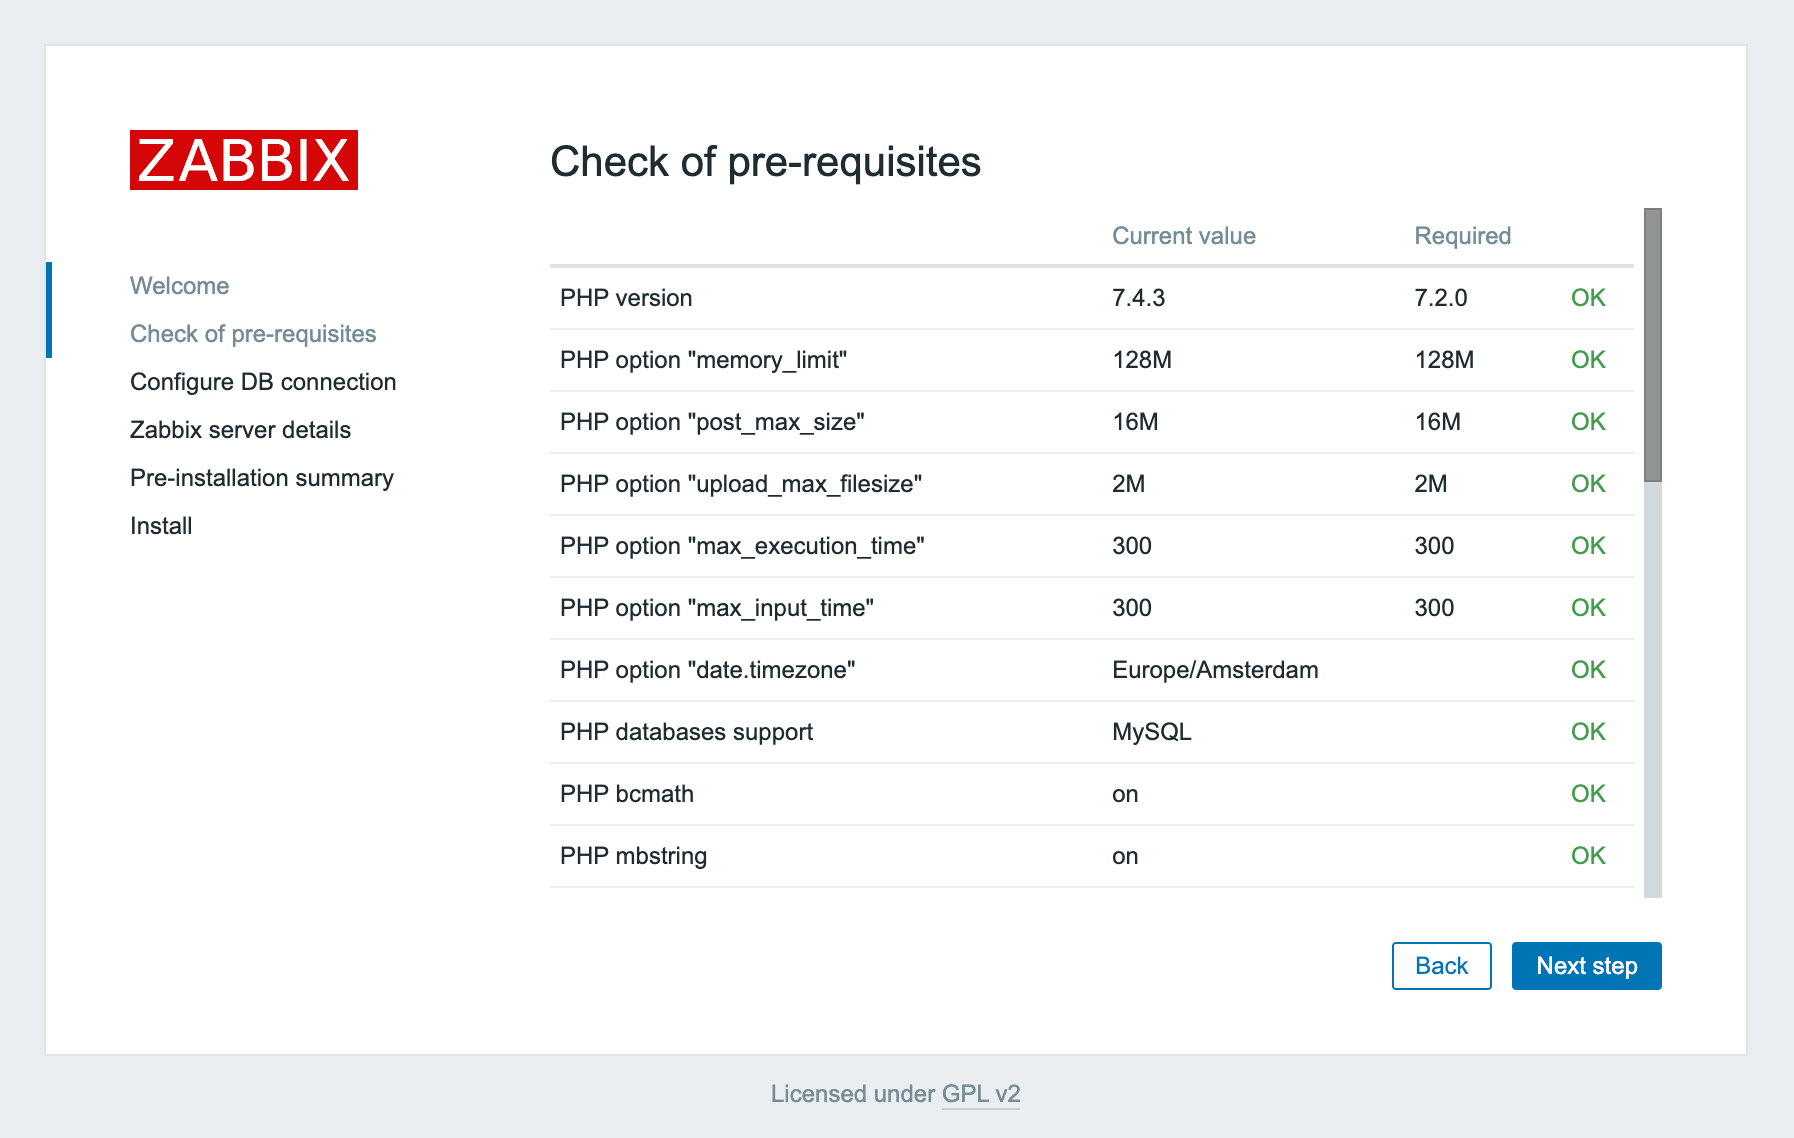
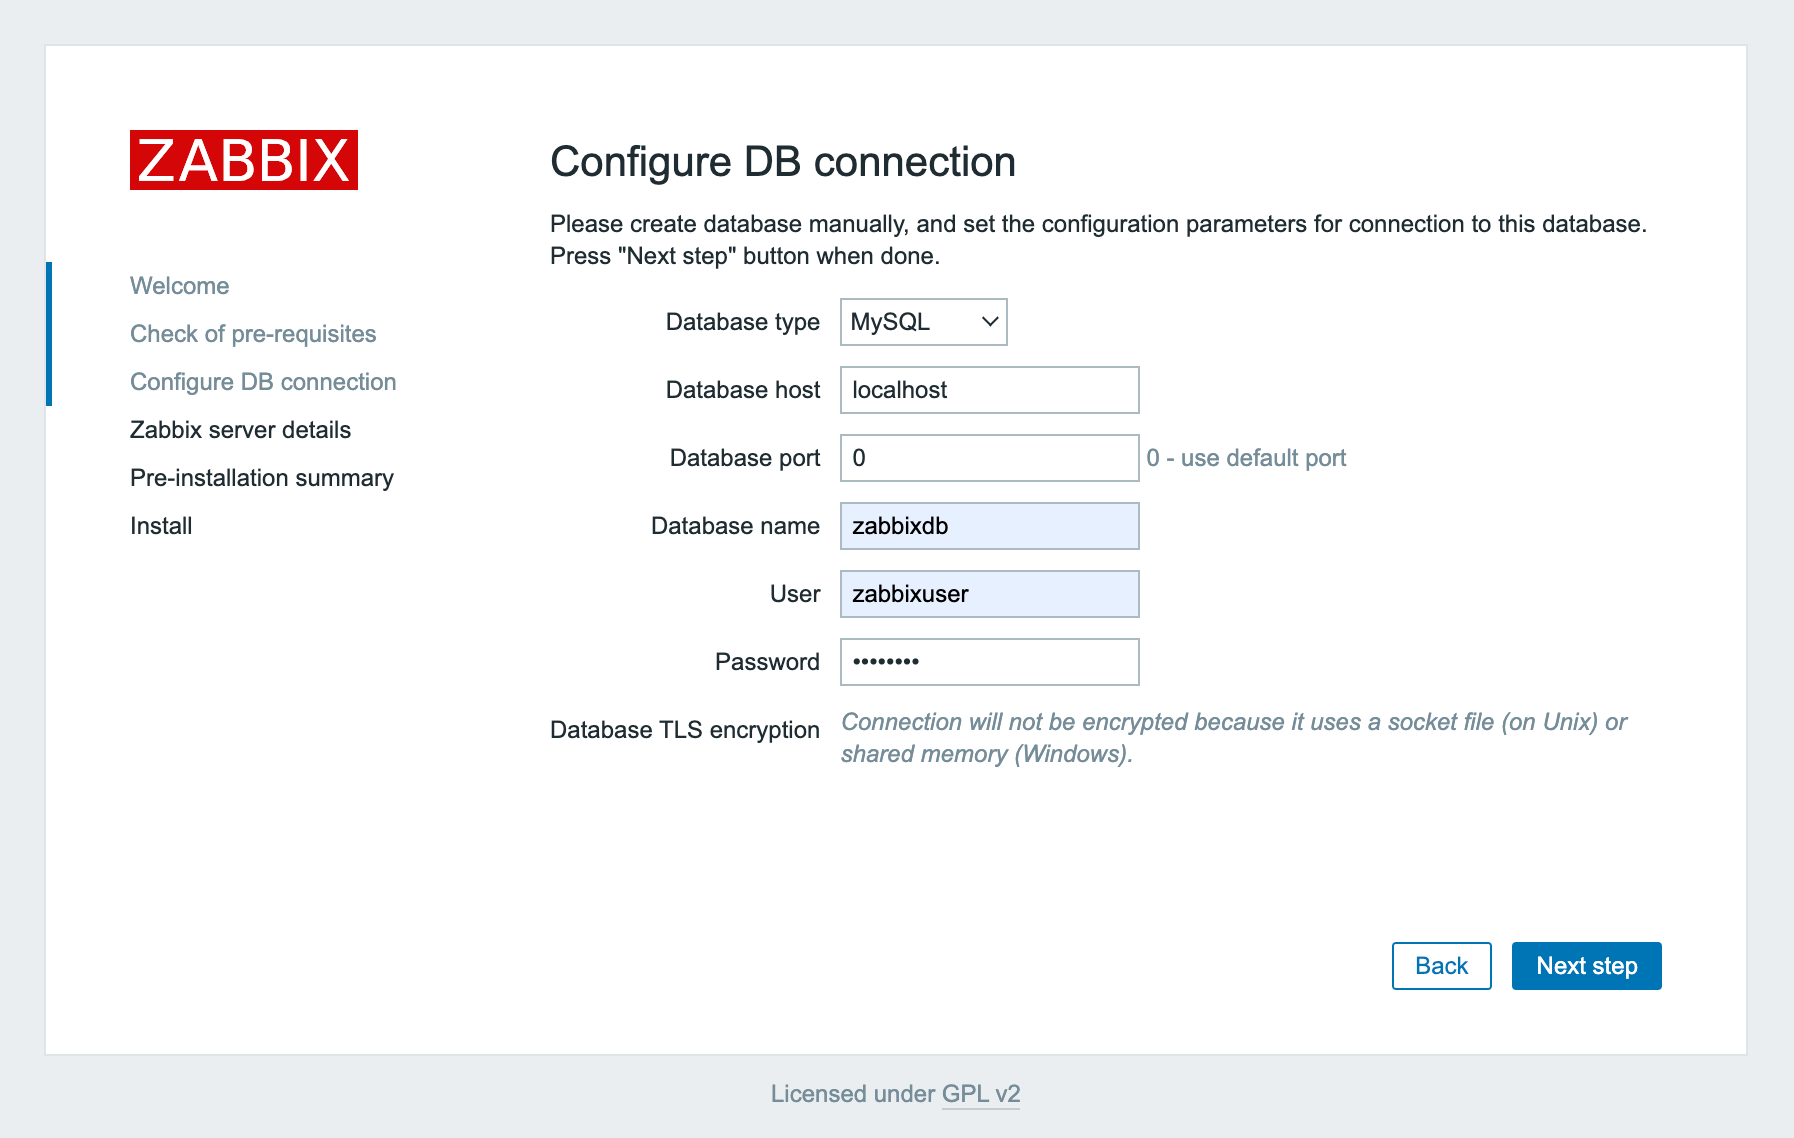
If every pre-requisites is installed you can click Next. Next we need to enter the database credentials we have created earlier.
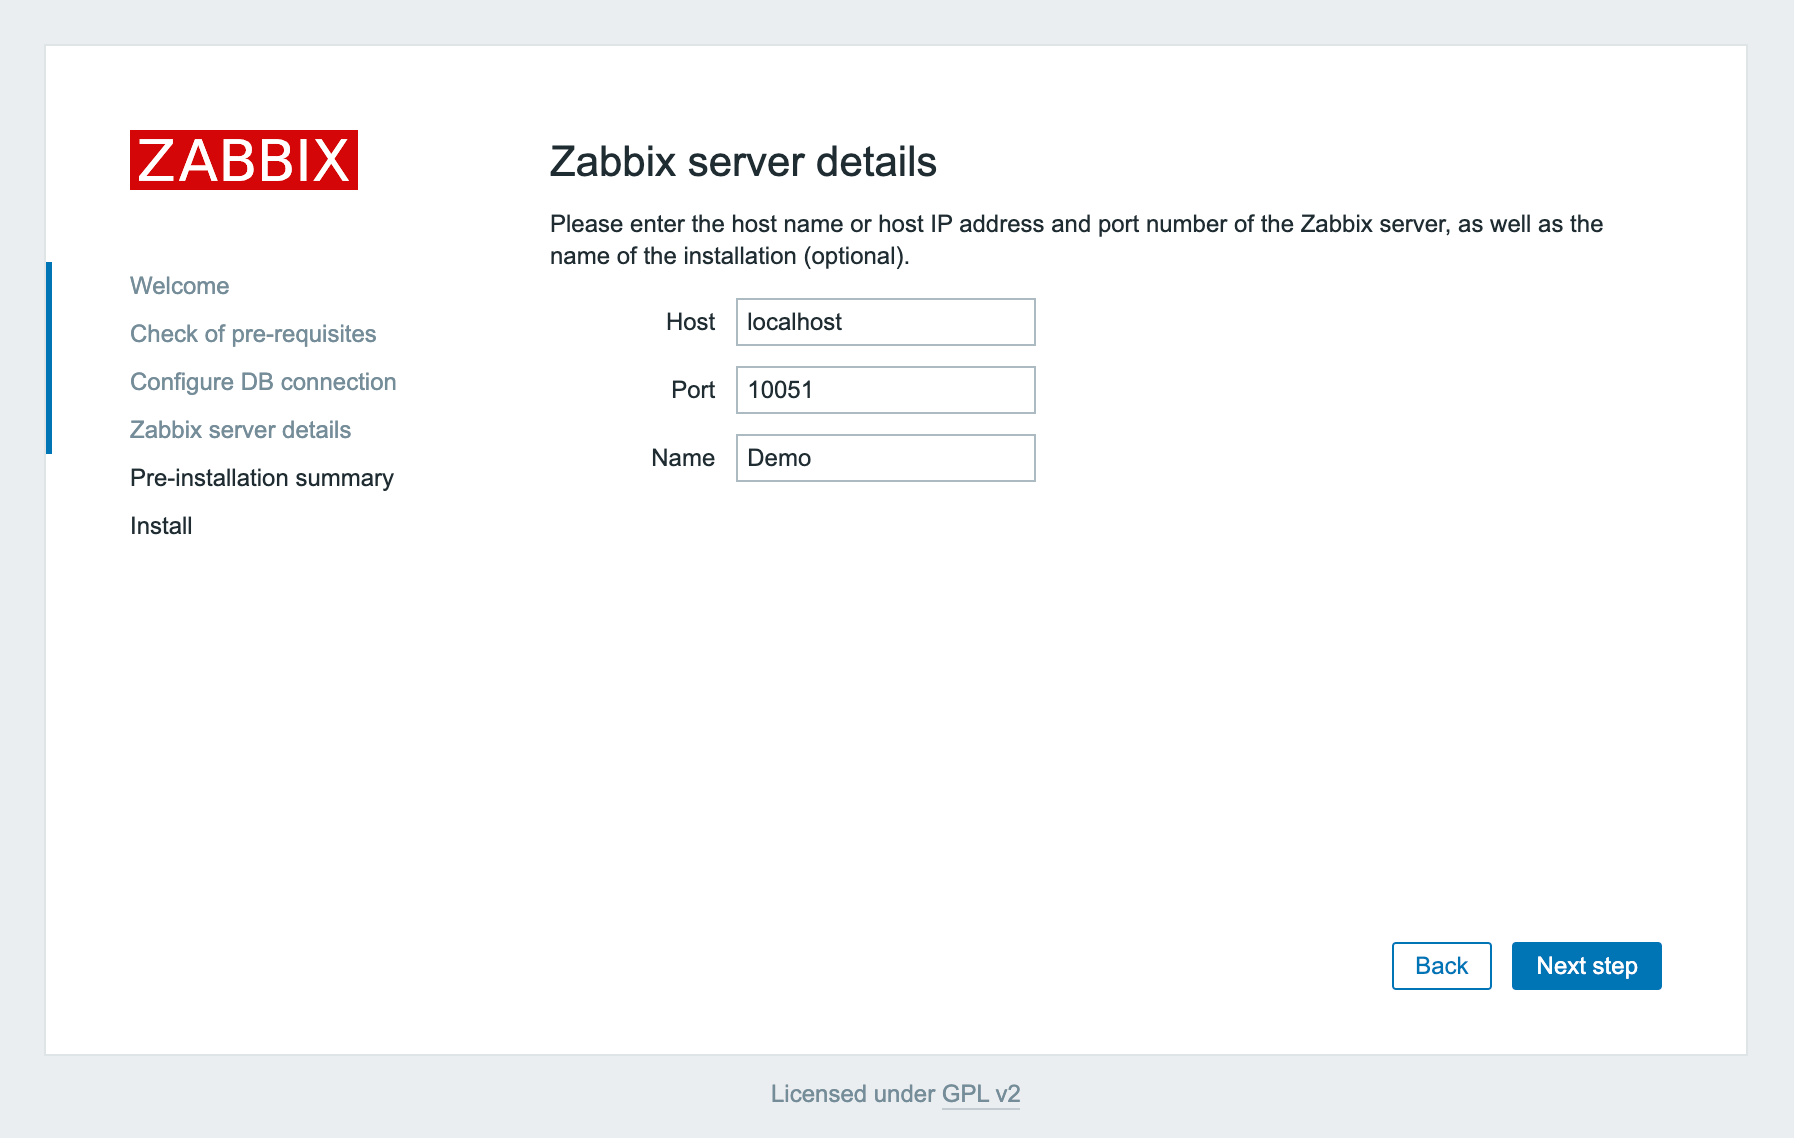
Next you need to provide your Zabbix server details. In the example we use Demo as the name.
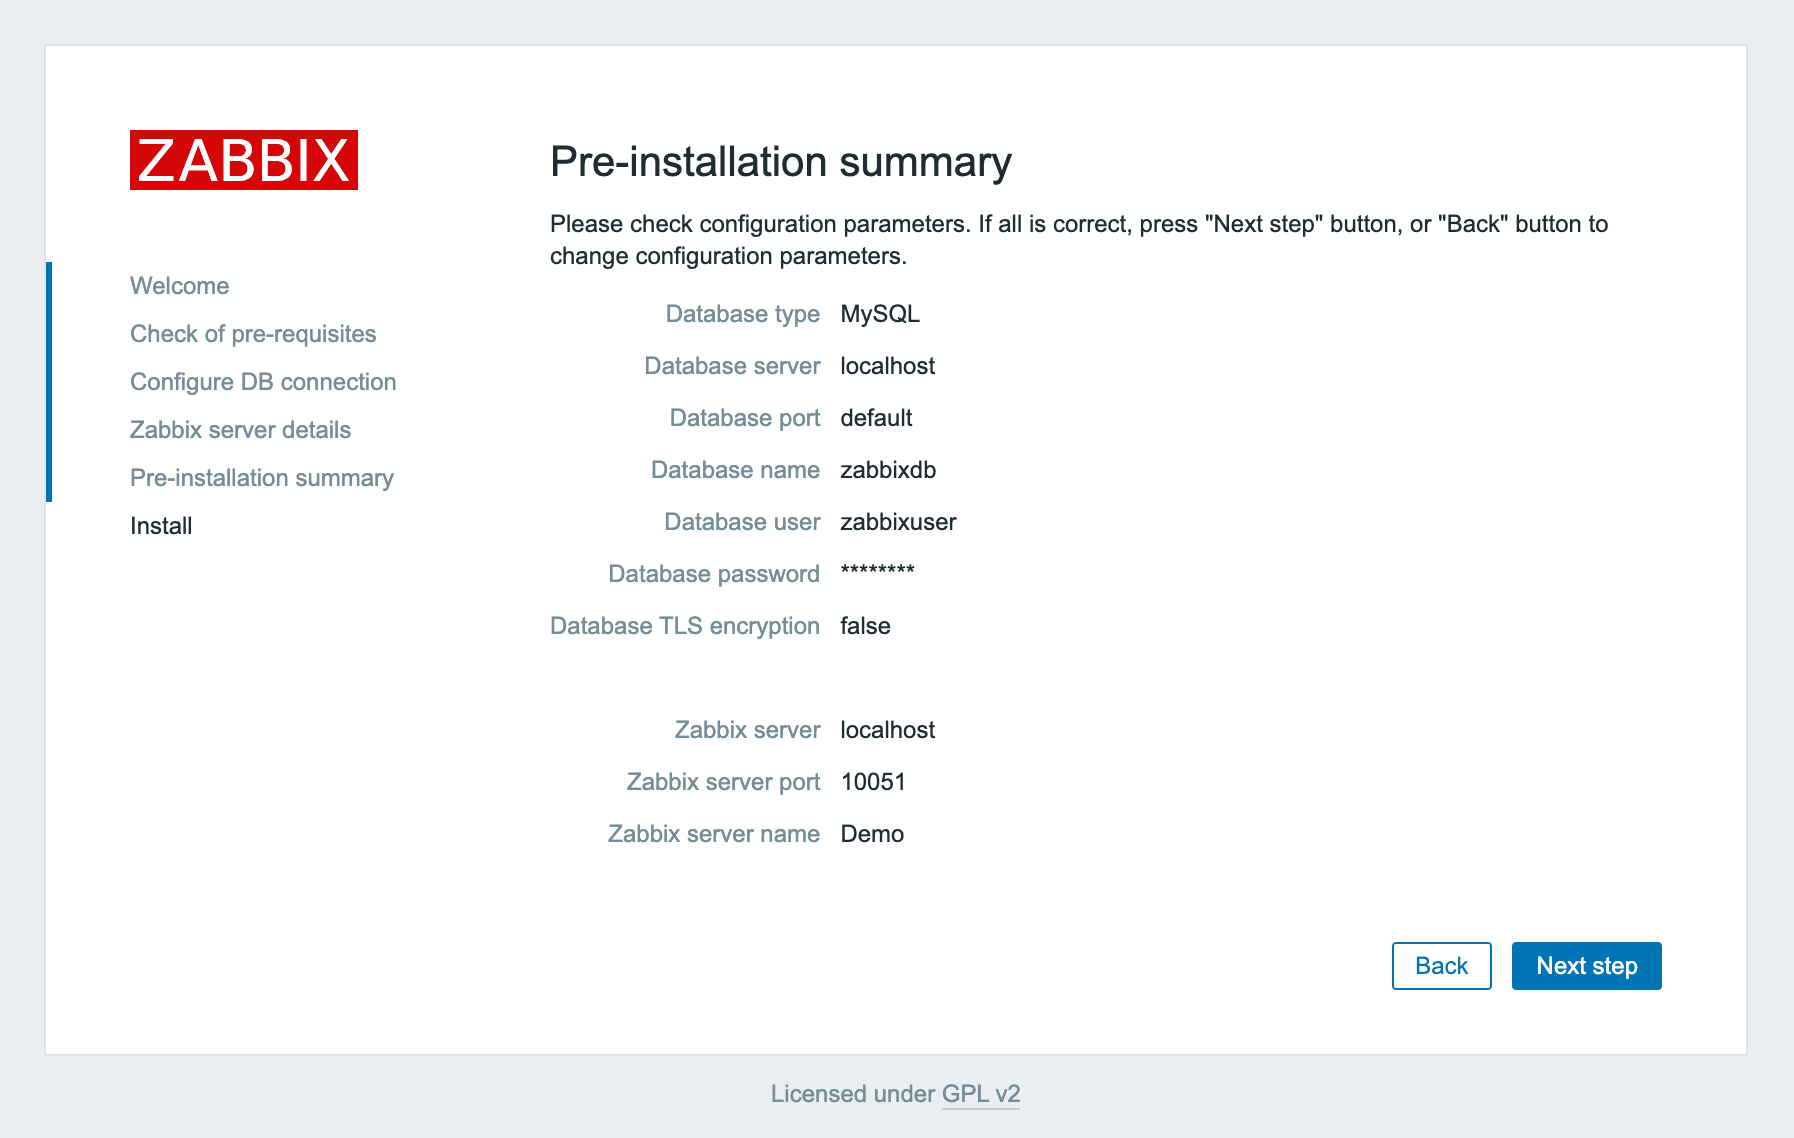
Next you need to confirm the configuration.
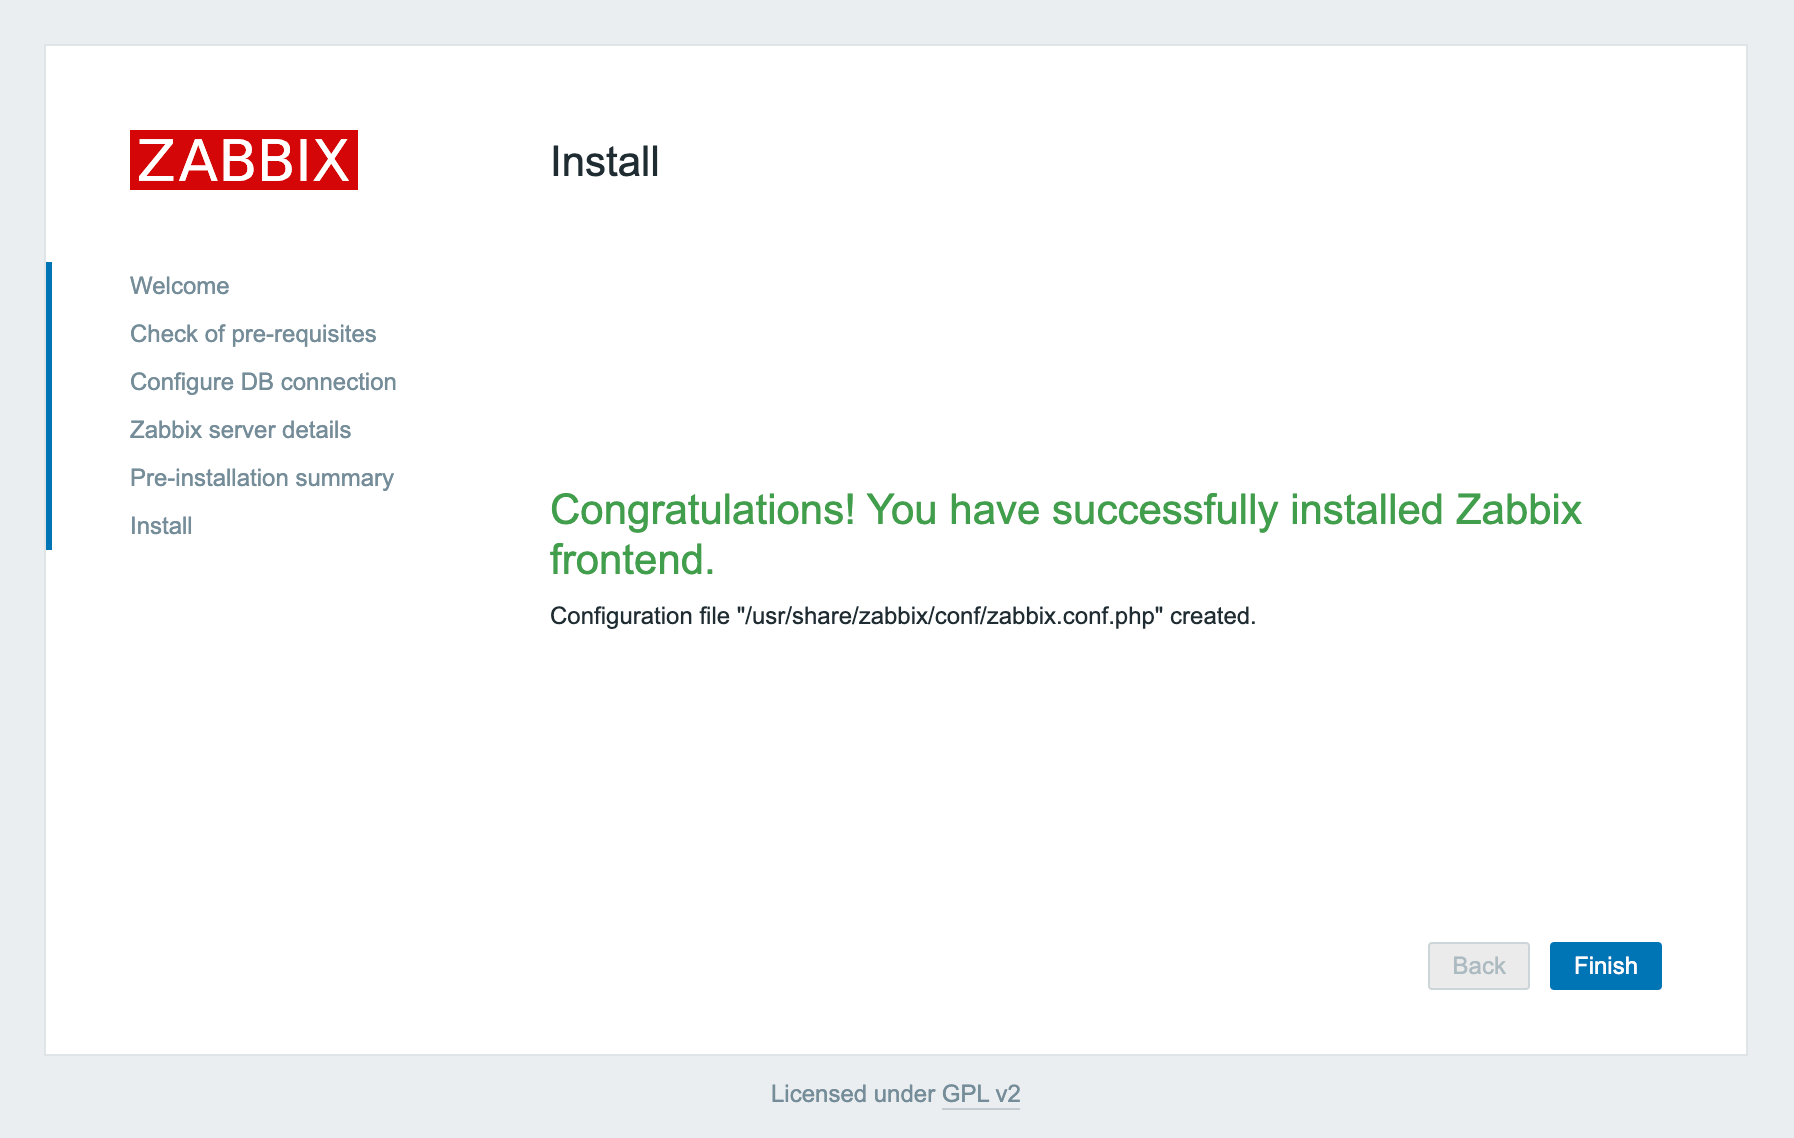
A screen saying Congratulations! will follow. Click Finish
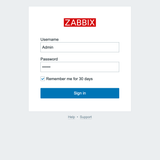
You will be redirected to the Zabbix login page. The Zabbix default username and password are the following:
Username = Admin Password = zabbix
You have now successfully installed Zabbix.