


Tweak performance and tracking resources on Windows Server 2016
Introduction
Often Linux is deployed on VPS servers, because many services are designed to be run on Linux machines. Most monitoring and tweaking guides are written specifically for Linux VPS servers. However you may also use Windows based machine for some services, and may be interested in monitoring your Windows VPS server. This tutorial will cover installing mumin service on your Windows VPS server, connecting it to existing mumin server node and also some basics in checking Windows perfomance and executing anti-malware software.
Prerequisites
Installed Mumin on Linux-based server Follow our mumin installation guide to have it setup. Windows Server 2016 VPS server Basic knowledge in installing and running software on Windows Basic knowledge in Linux configuration
Checking Windows perfomance locally
Windows provides an easy and simple way to check how it performs locally. Built-in task manager, give you a graphical monitor of your RAM/CPU/HDD usage. To run it, press Start button ( the one with windows logo in the bottom left corner ) and start typing
taskmgr
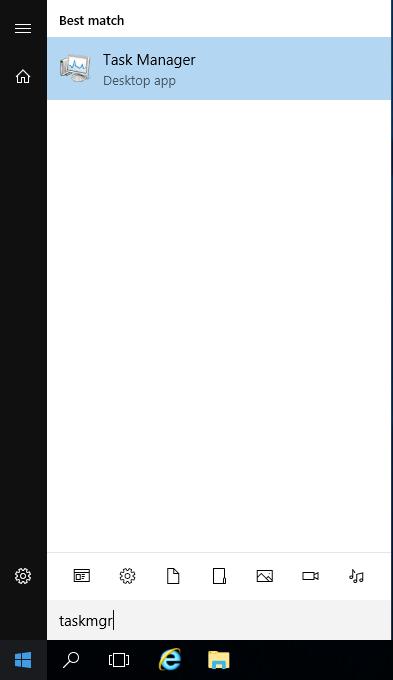 You will see a Task Manager appearing, press it. It already provides perfomance information, but we are interested in a more detailed output.
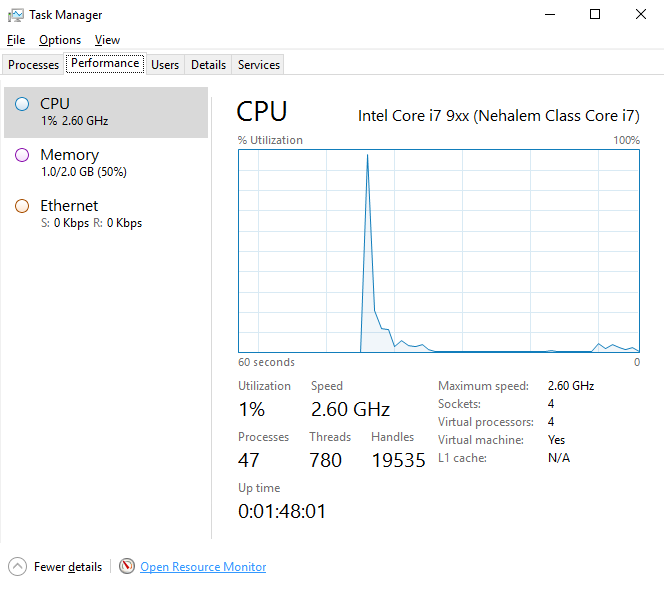
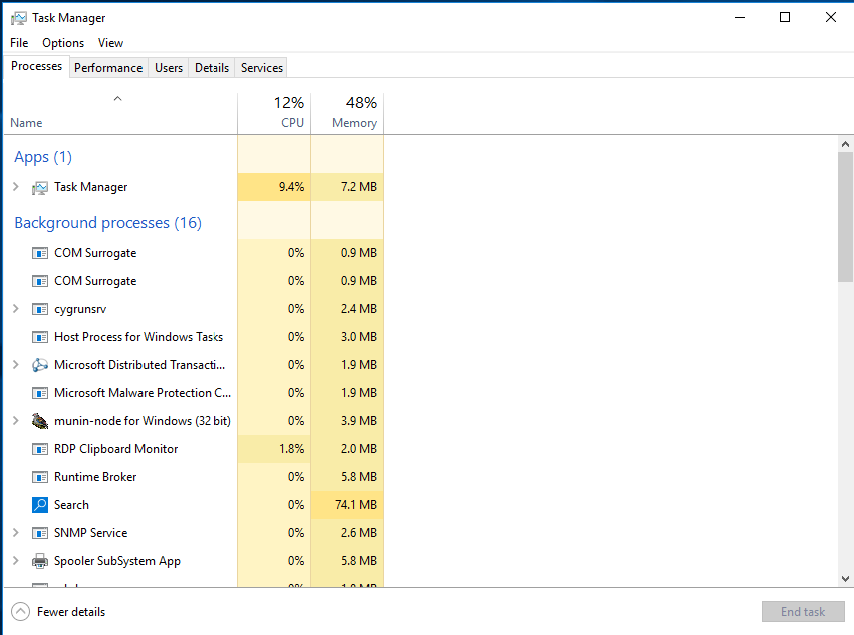 Choose Perfomance Tab and in the bottom of Task Manager's Perfomance tab press on Open Resource Monitor.
 Now you have a Resource monitor opened, which give you a detailed output on CPU/Memory/HDD/Network use.
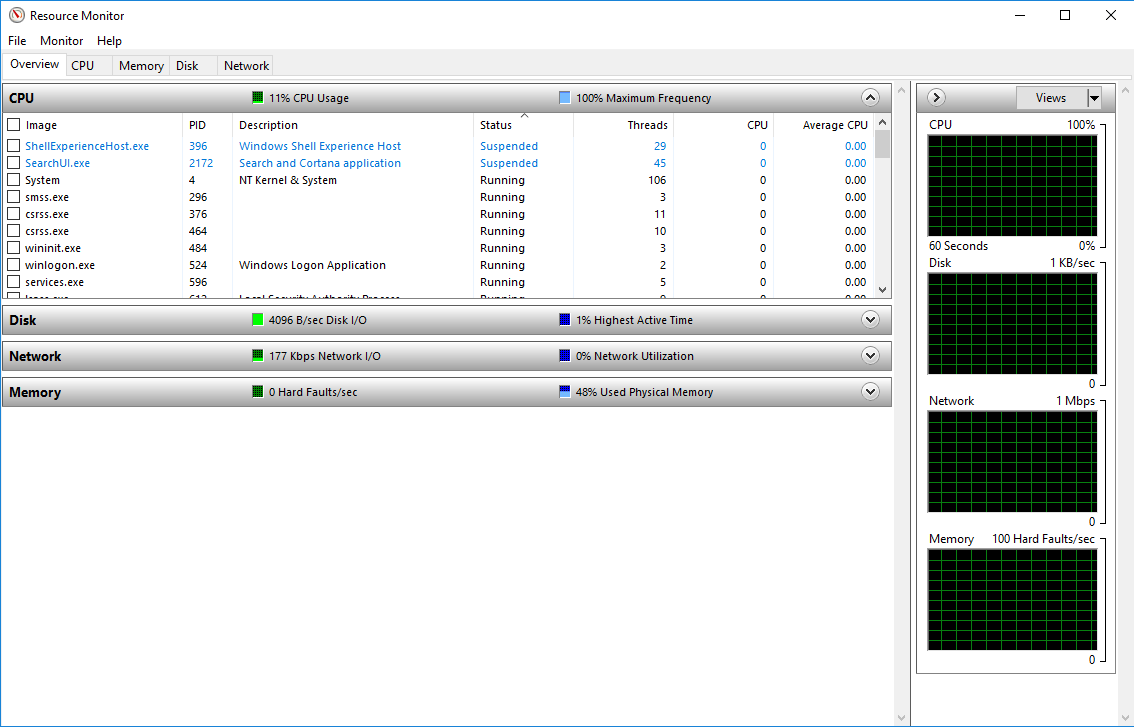
It is already enough to see what process consumes what resources, and what may be the culprit. But we want MORE. We do not want to log into our Windows machine each time to check resources used.
Checking Windows perfomance with a Mumin monitor.
There are two ways of installing munin node on windows * Building from sources Go to https://github.com/munin-monitoring/munin-node-win32[1] checkout the code and follow the build instruction * Install pre-built binaries https://code.google.com/archive/p/munin-node-win32/downloads[2]
Since latest release is 1.6.1.0, it is perfectly OK to download prebuilt binaries.
1) Go through installation process, leaving all setting default
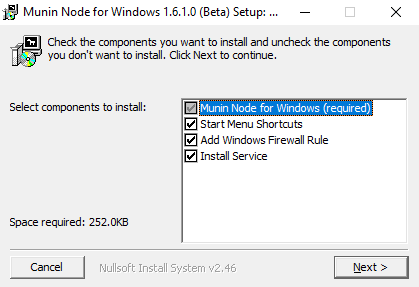
In such case you will have Munin installed, and it will be automatically started as service
(! )Don't forget to follow our guide, to see how to add a node to munin master. Basically you need to add entry with your Windows server ip to your
/etc/munin/munin.conf
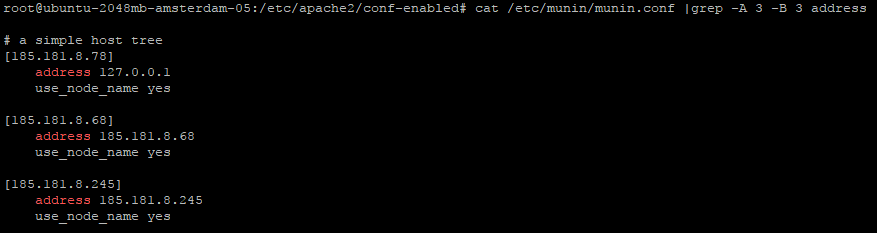 and restart apache
systemctl restart apache2
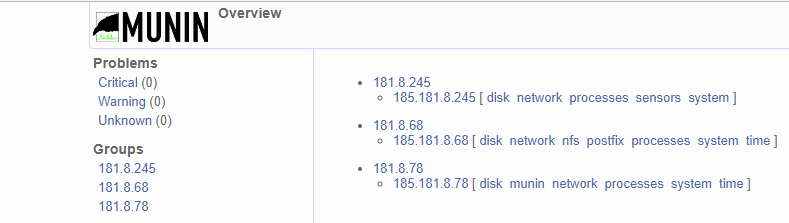
Now you need to wait from 5 to 15 minutes, till your munin server catches the windows node, and you have monitoring on your munin server !
Antimalware software for your Windows Server VPS systems.
You may have wondered, why have am i writing about it, but in fact not all modern antiviruses are installable
on Windows Server. Here are the ones, that work, work good enough and are proven to provide good results:
#1 ClamAV
 ClamAV[3] is the most well-known open source antiviral and anti-malware product. It is multiplatform, have a lot of features, like malware protection and support of most file types.
#2 Immunet
ClamAV[3] is the most well-known open source antiviral and anti-malware product. It is multiplatform, have a lot of features, like malware protection and support of most file types.
#2 Immunet

Immunet[4] is based on ClamAV ( free open source antivirus engine ) + own engine and is fully compatible with Windows Server. It also uses cloud-based mechanism to detect and store virus signature files, so it does not require updates.
Both of them are free and easy to use. They are not new players on the market, and can be trusted as well.
Conclusion
Now you know how to monitor your Windows VPS resources via RDP, how to use Resource Monitor, and how to track resource usage of your Windows VPS server, using a centralized monitoring tool. You can safely add Windows machines to you park and monitor them easily.
[1]: https://github.com/munin-monitoring/munin-node-win32
[2]: https://code.google.com/archive/p/munin-node-win32/downloads
[3]: https://www.clamav.net/downloads/#otherversions
[4]: http://%20https://download.immunet.com/binaries/immunet/bin/ImmunetSetup.exe
Related Tutorials
Installing cTrader on Windows 2012 ServerOpenSSH - Connection drop / Broken Pipe
Installing ServerPilot and Creating an App on Ubuntu 14.04 LTS 64bit
Locating files on your Linux VPS system using whereis, which, whatis, readlink, find
Basic principles of tutorial SNMP (Simple Network Management Protocol)